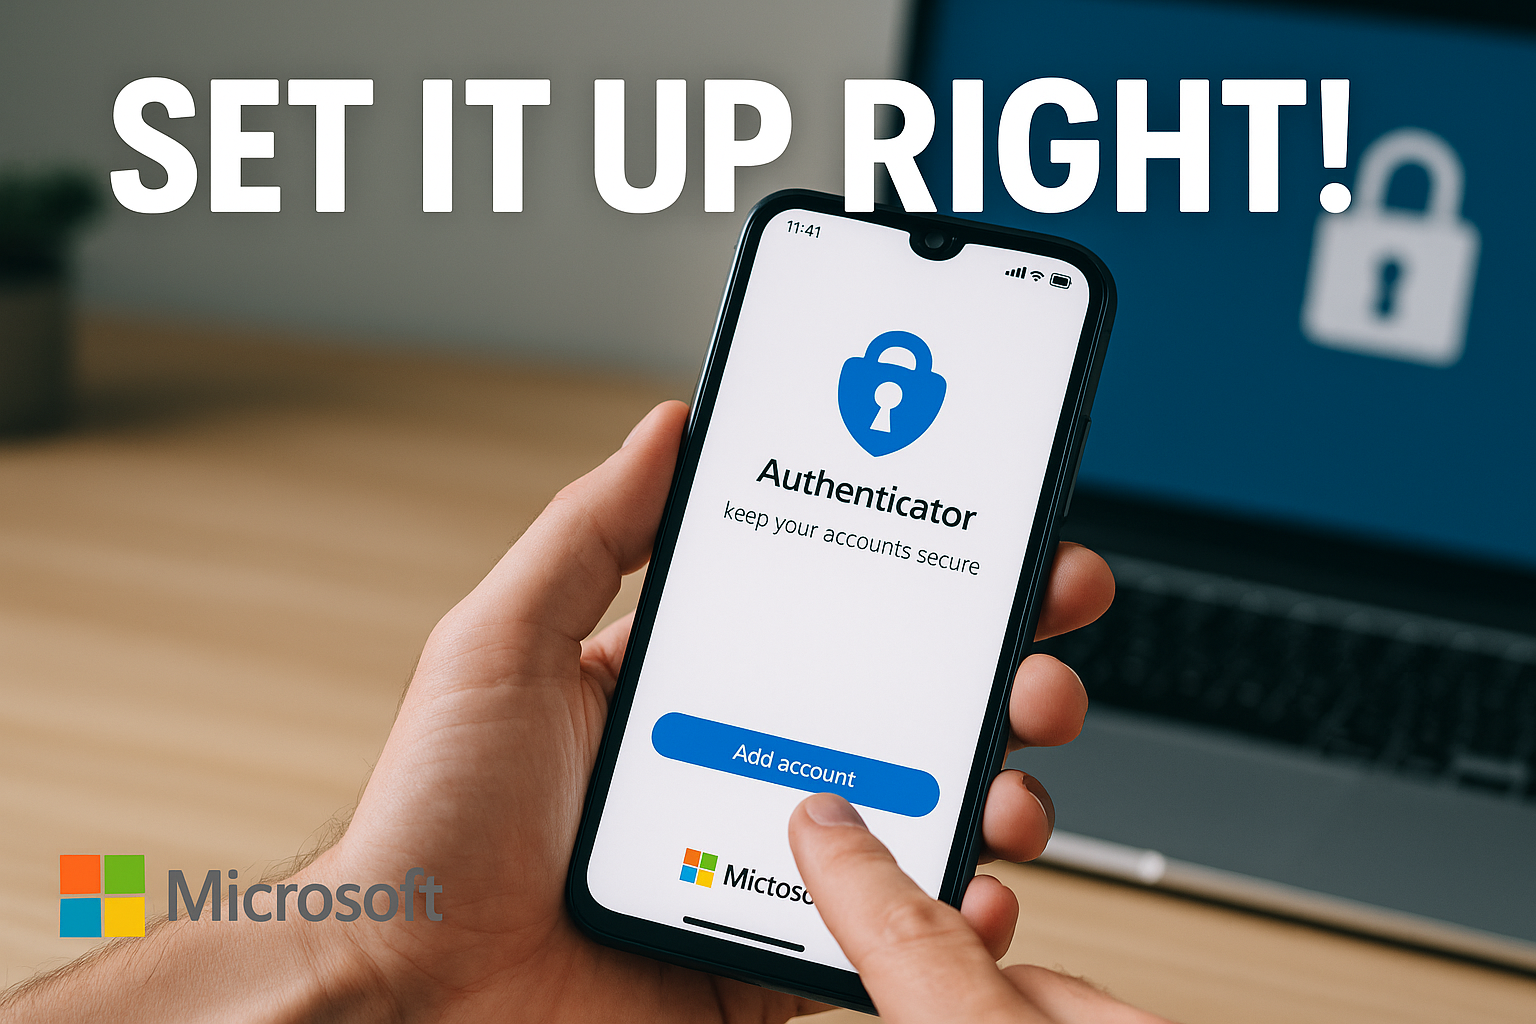
Keeping your Microsoft account secure is more important than ever. With phishing and credential theft on the rise, relying only on a password isn’t enough. Multi-Factor Authentication (MFA) adds an extra layer of protection by requiring a second factor—like an app-generated code—before you can log in.
The Microsoft Authenticator app makes this process simple, and in this guide we’ll walk you through installing it on your phone, step by step, with screenshots included.
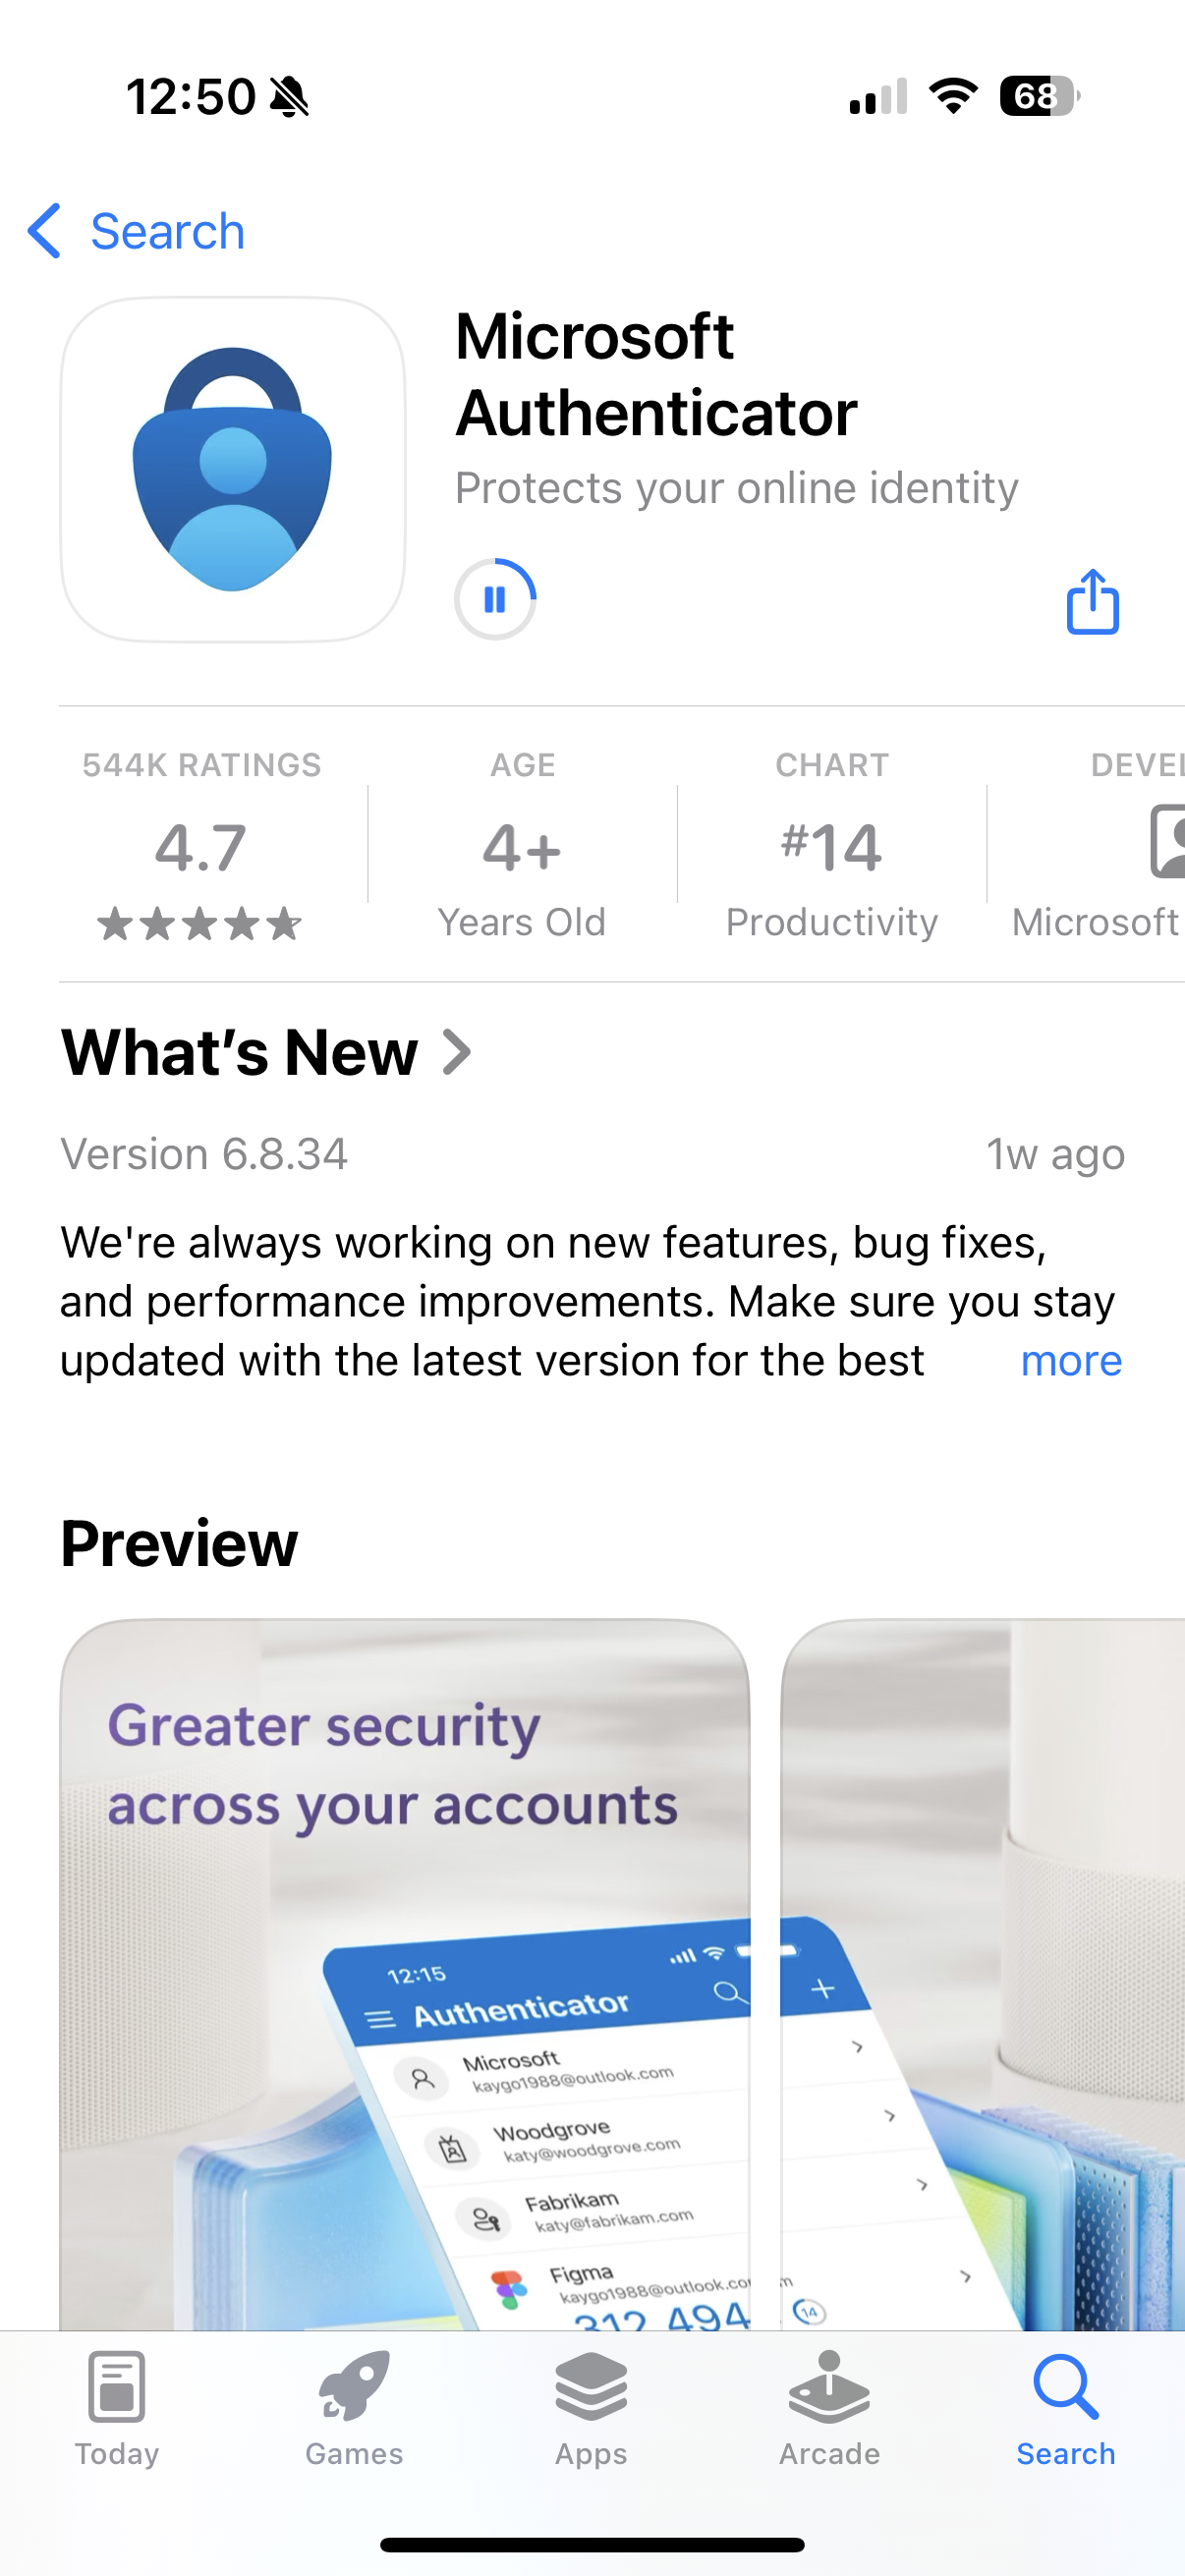
Step 1: Download the Microsoft Authenticator App
Open the App Store (iOS) or Google Play (Android).
Search for “Microsoft Authenticator.”
Tap Download/Install.
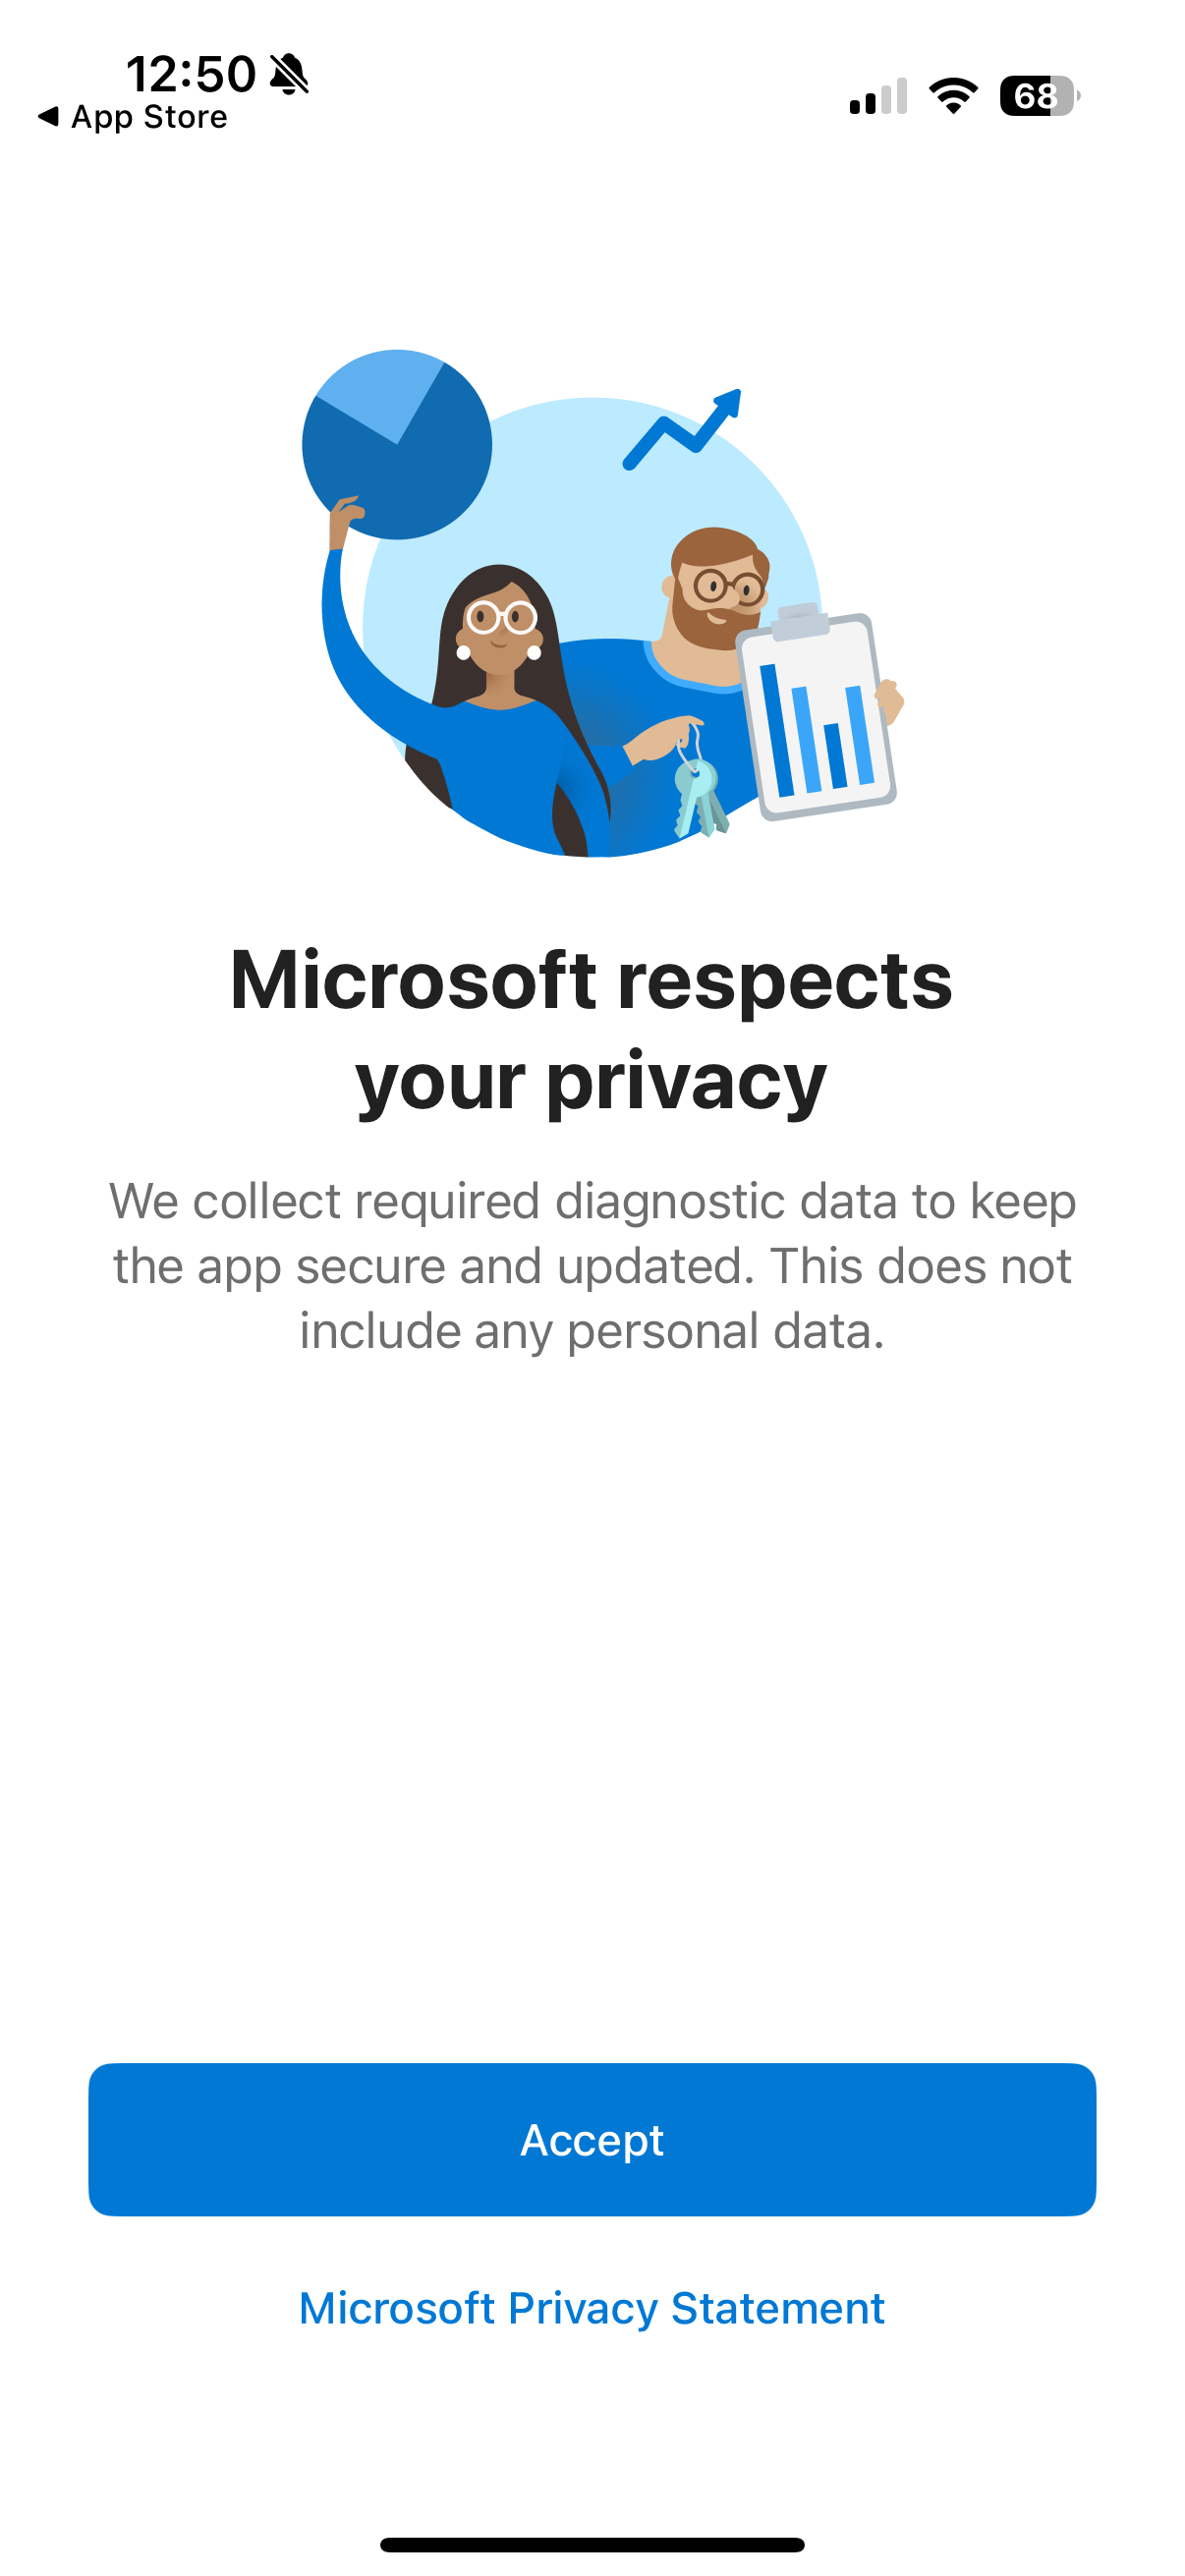
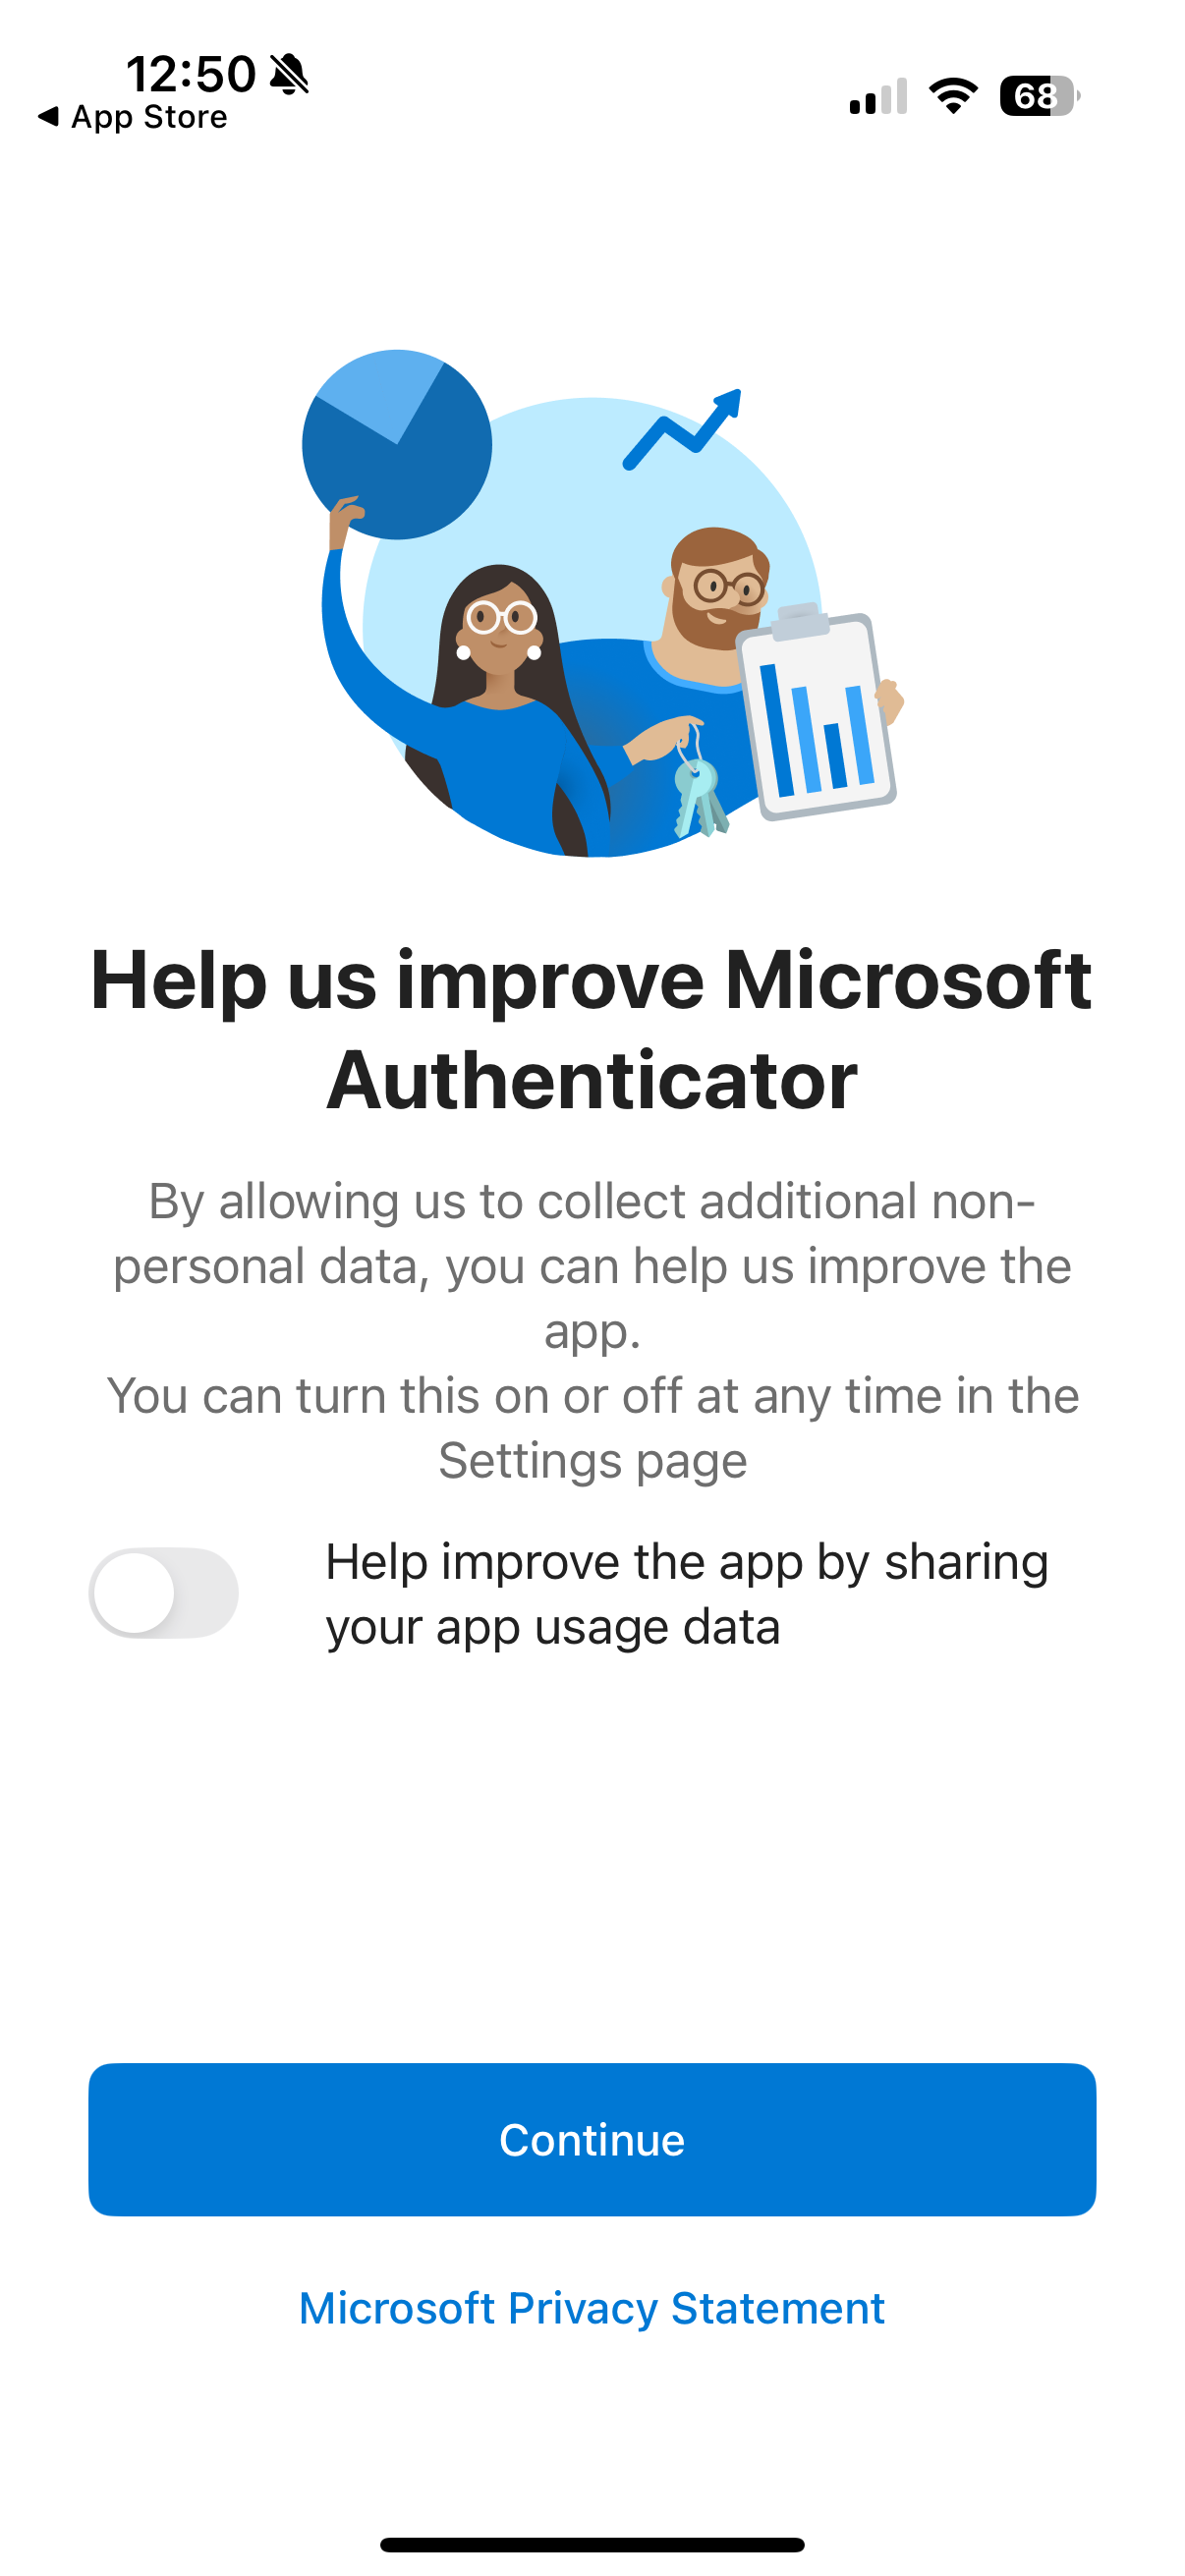
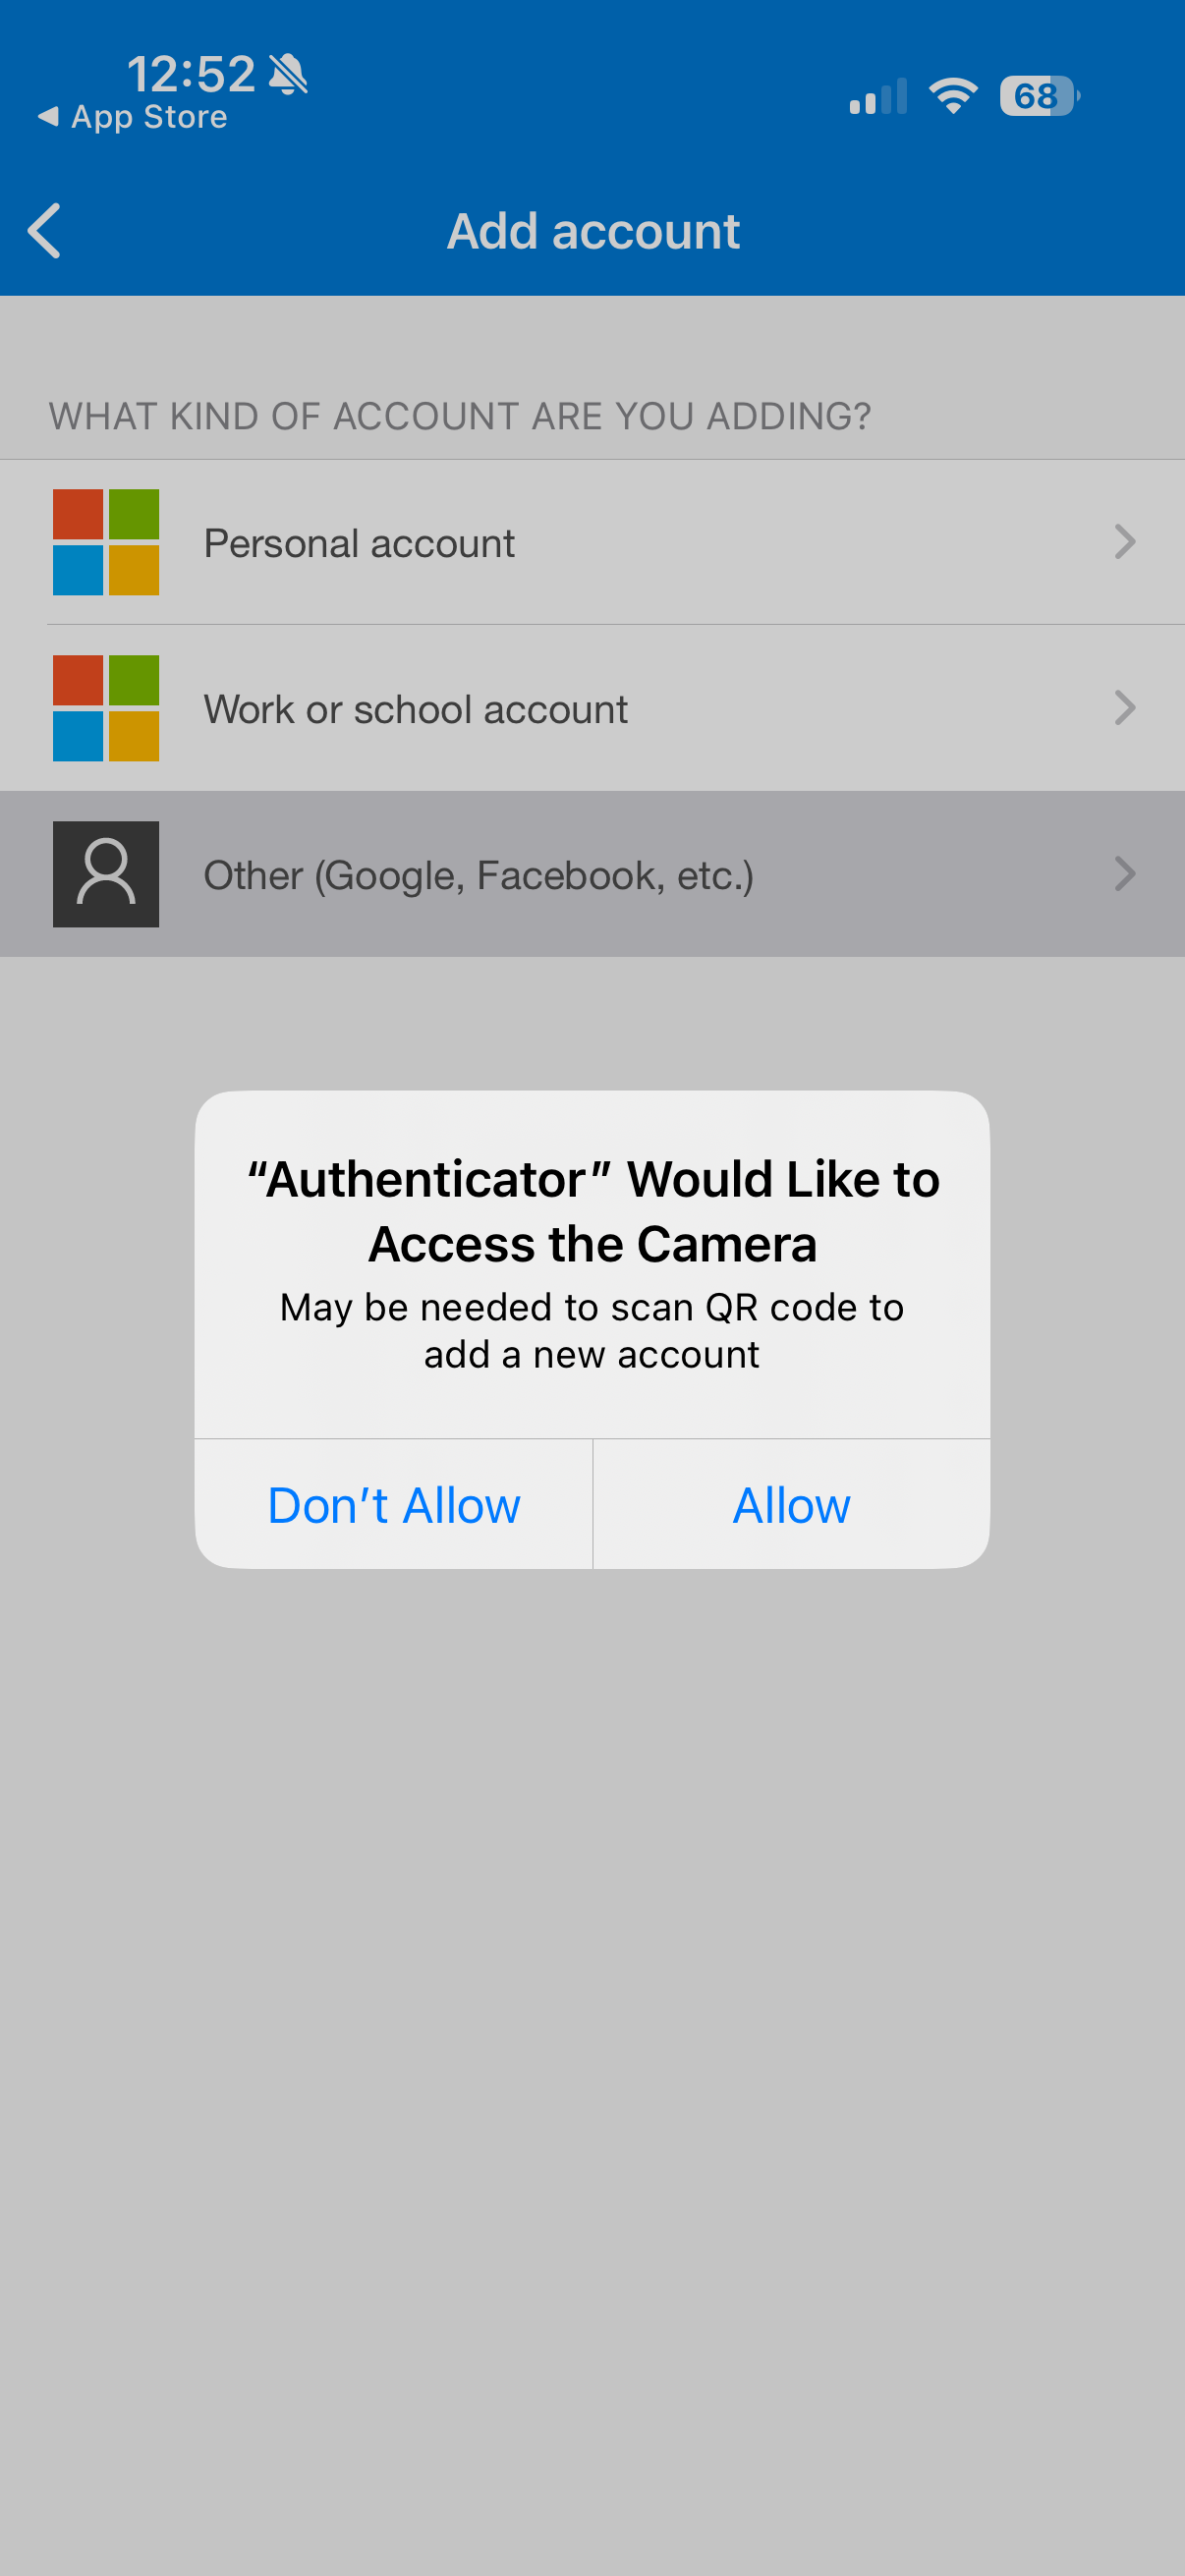
Step 2: Open the App and Allow Permissions
Launch the Authenticator app once it’s installed.
Grant necessary permissions (camera access for QR codes, push notifications).
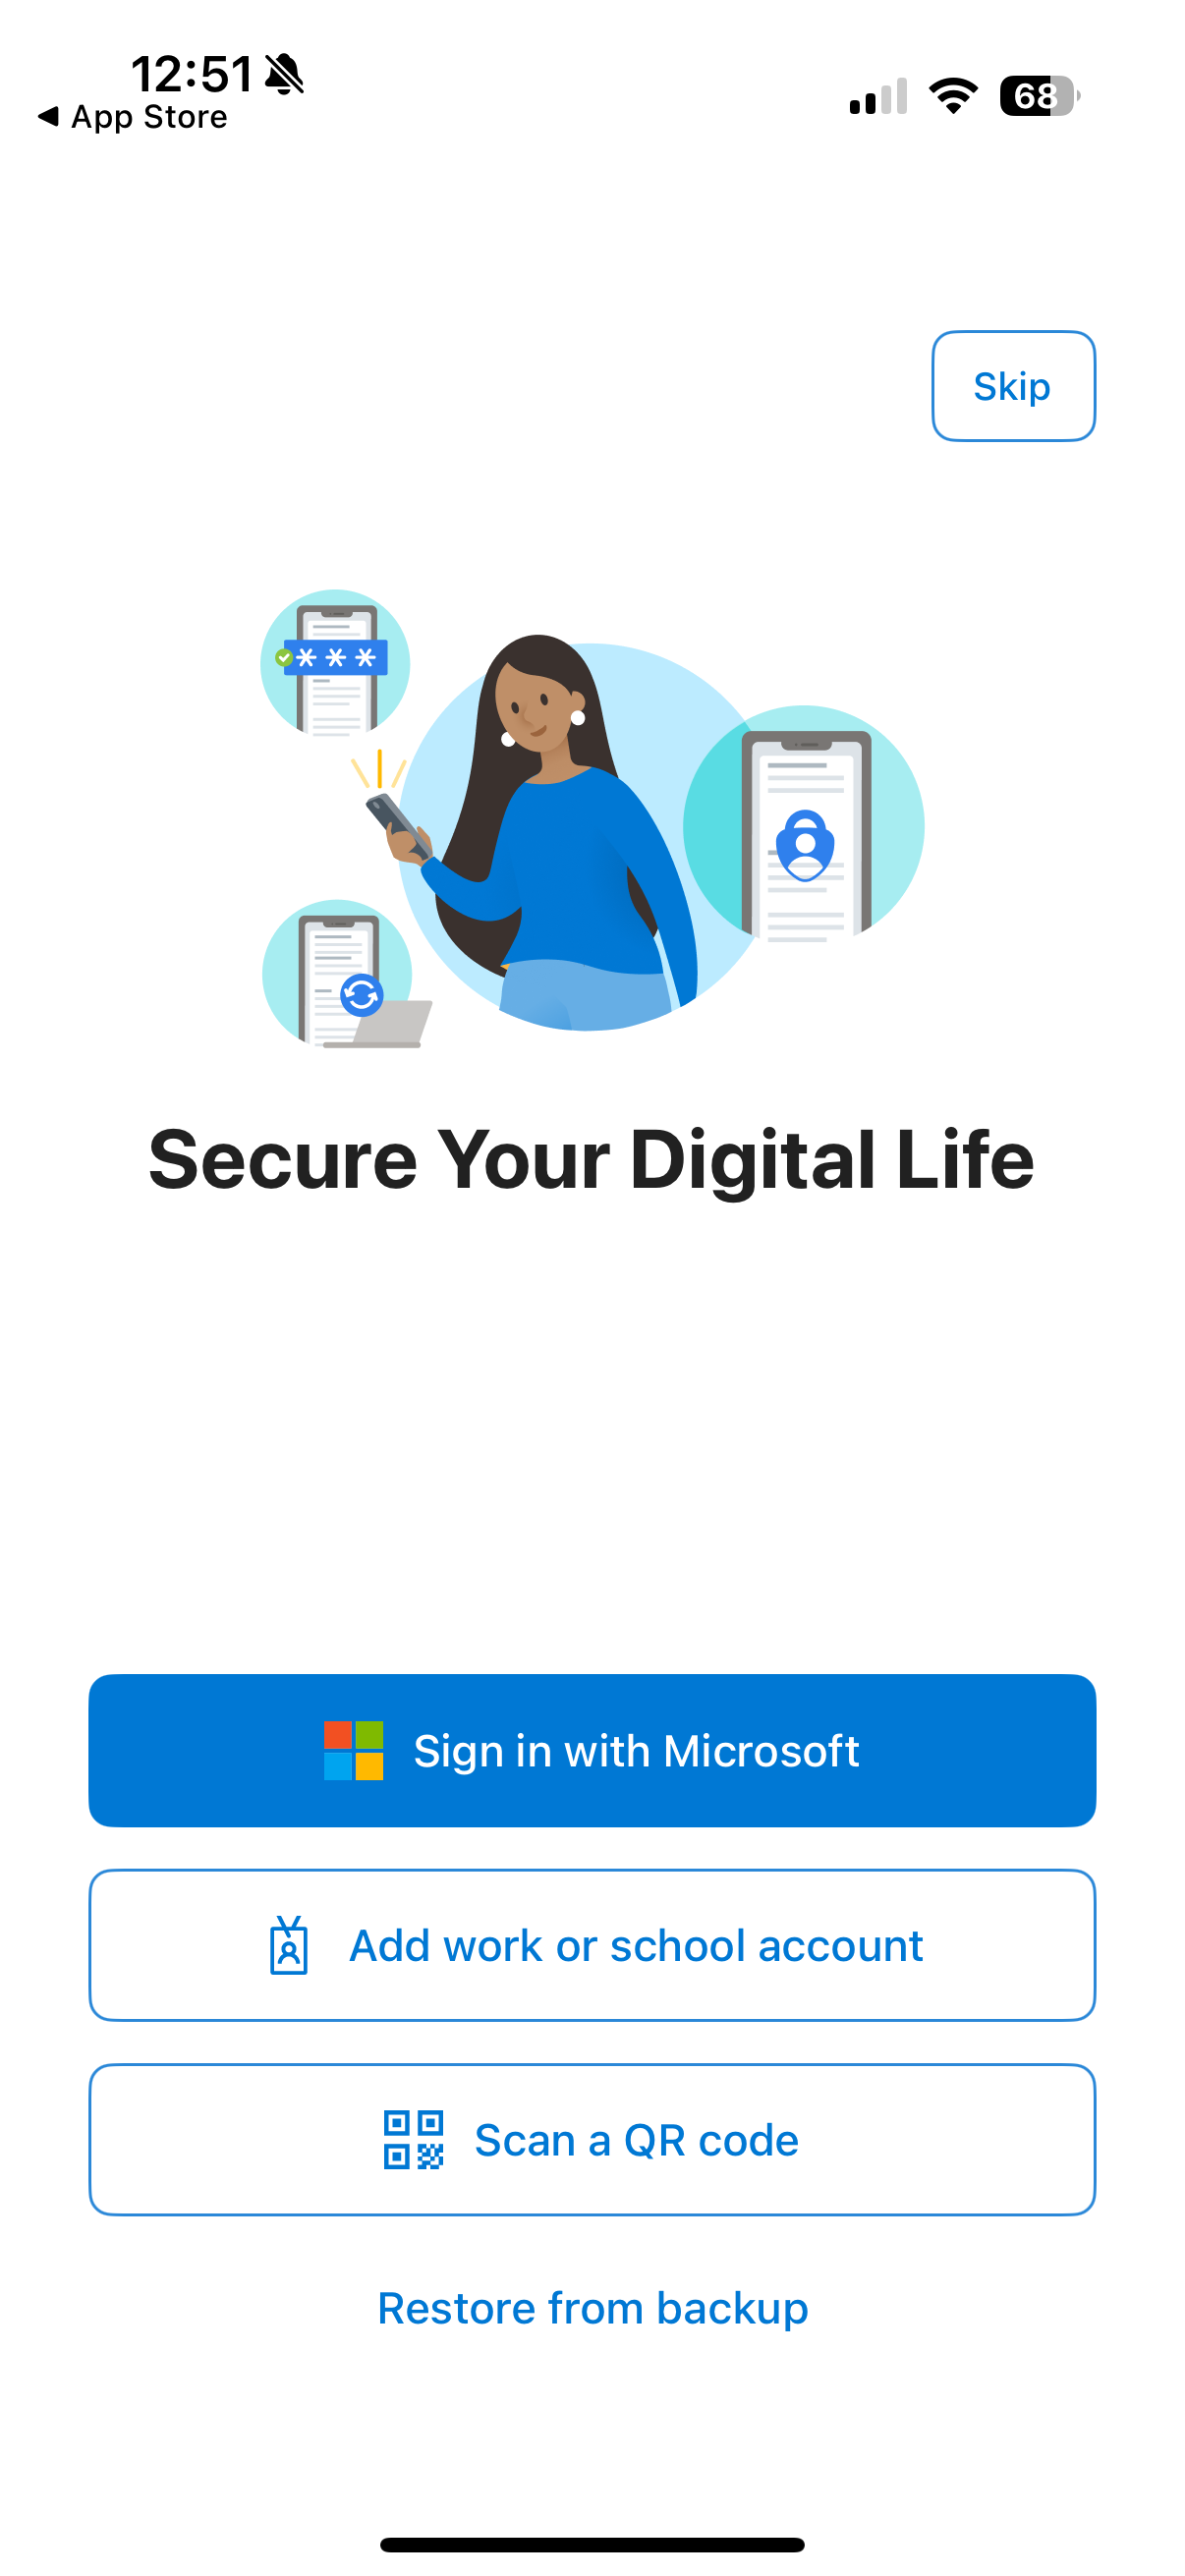
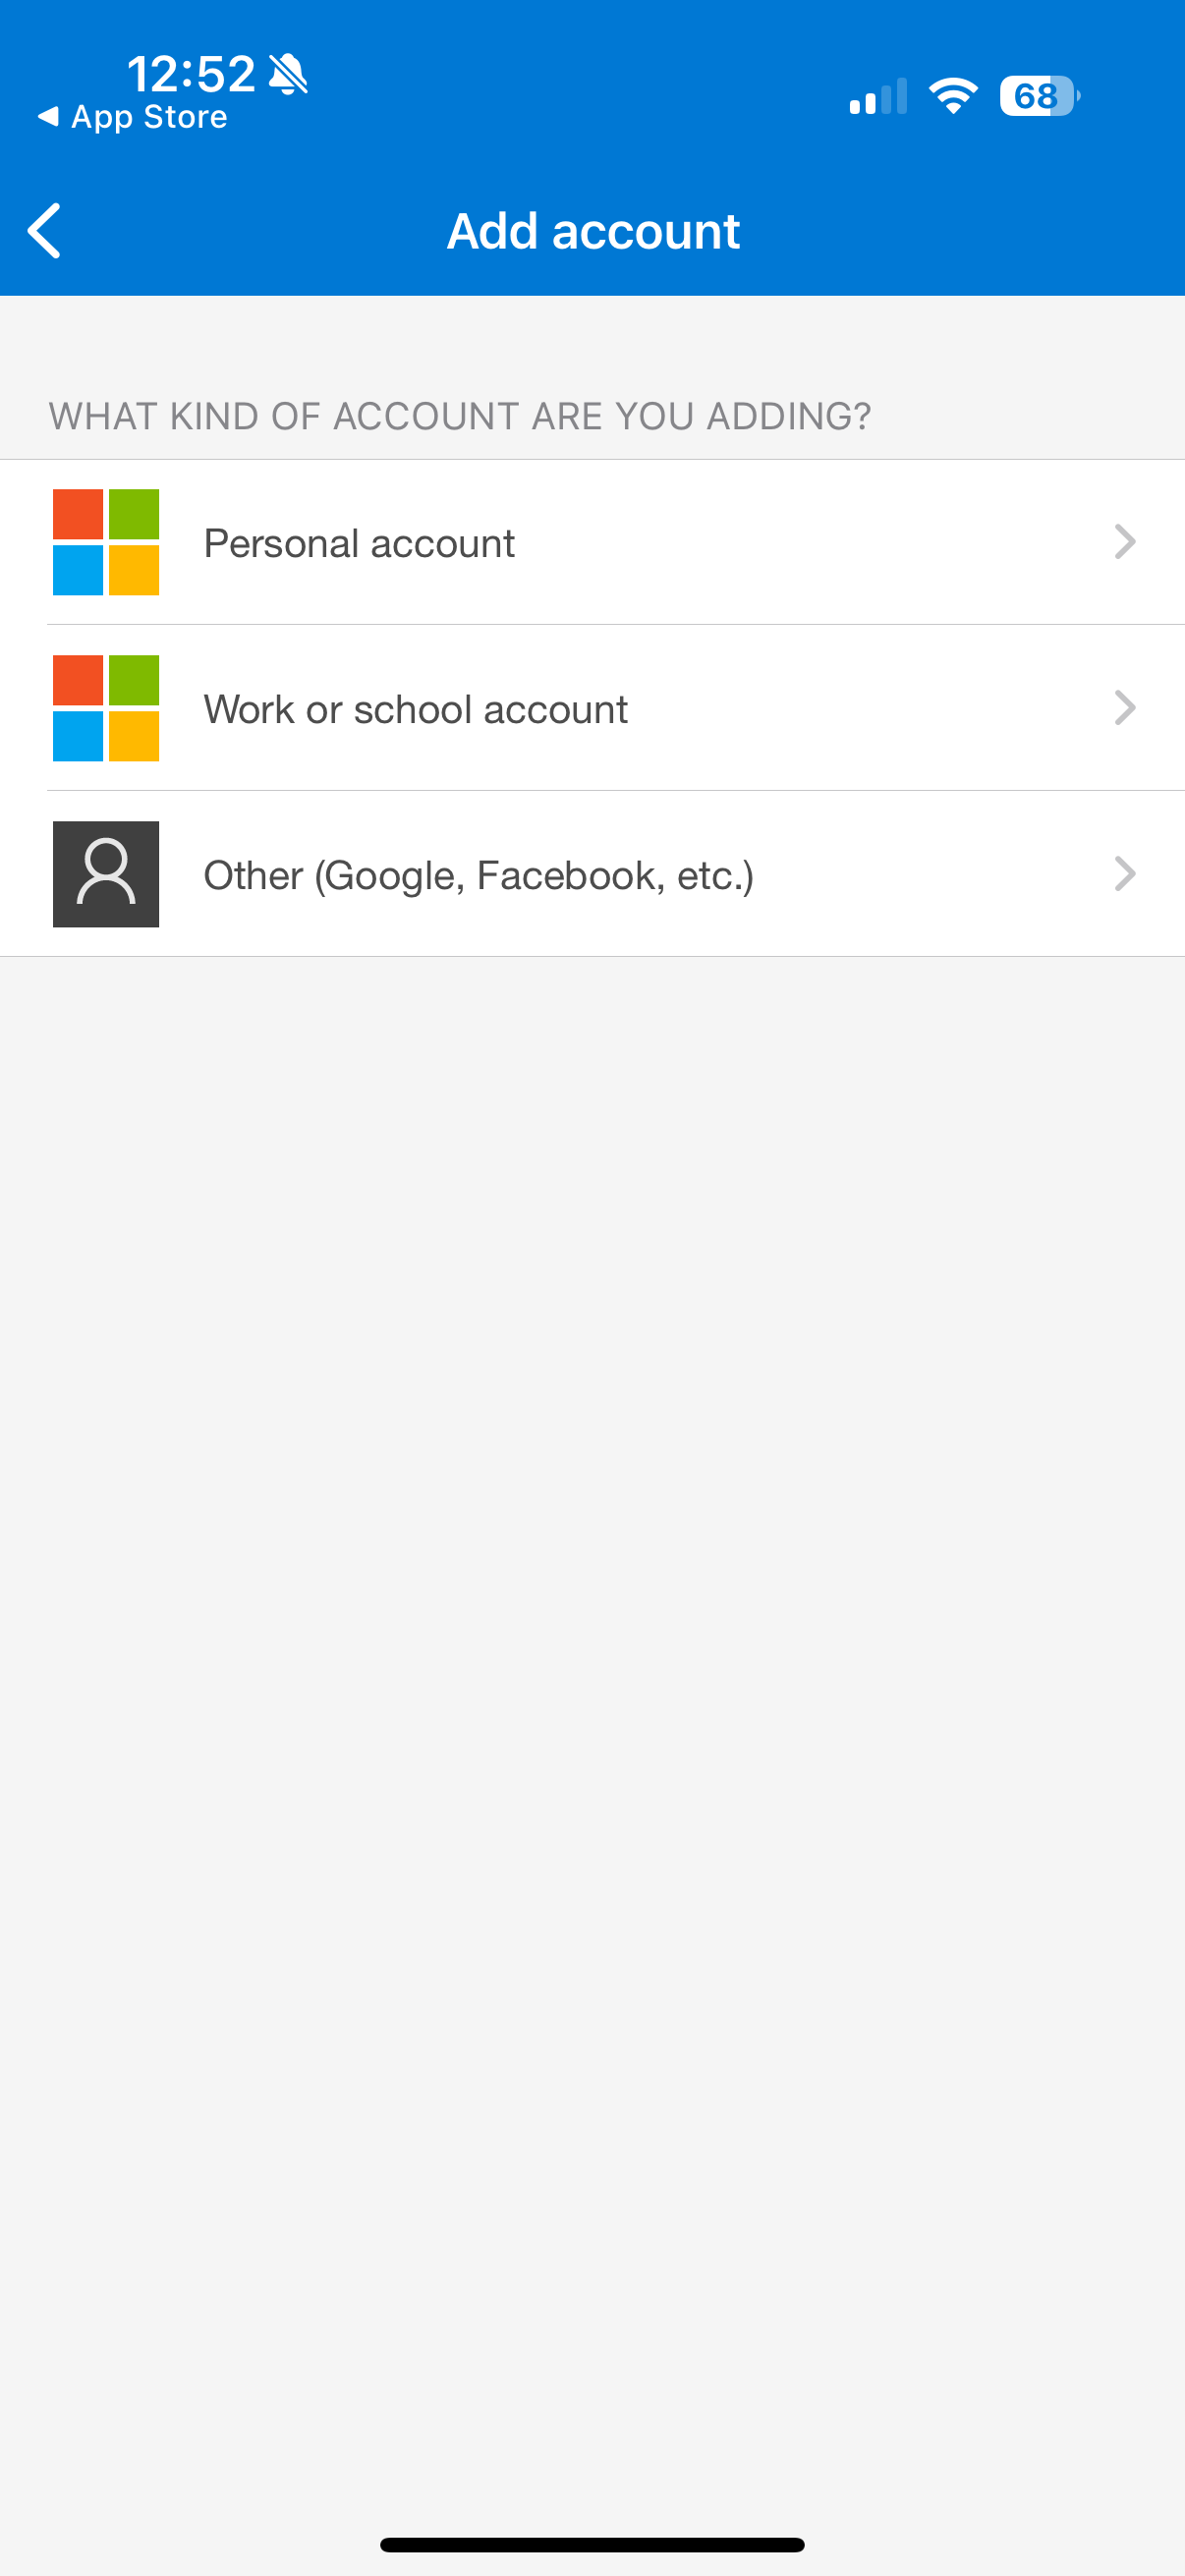
Step 3: Add Your Microsoft Account
Tap “+ Add Account” in the app.
Choose “Work or School account” (for Office 365/Enterprise) or “Personal Microsoft account” depending on your use case.
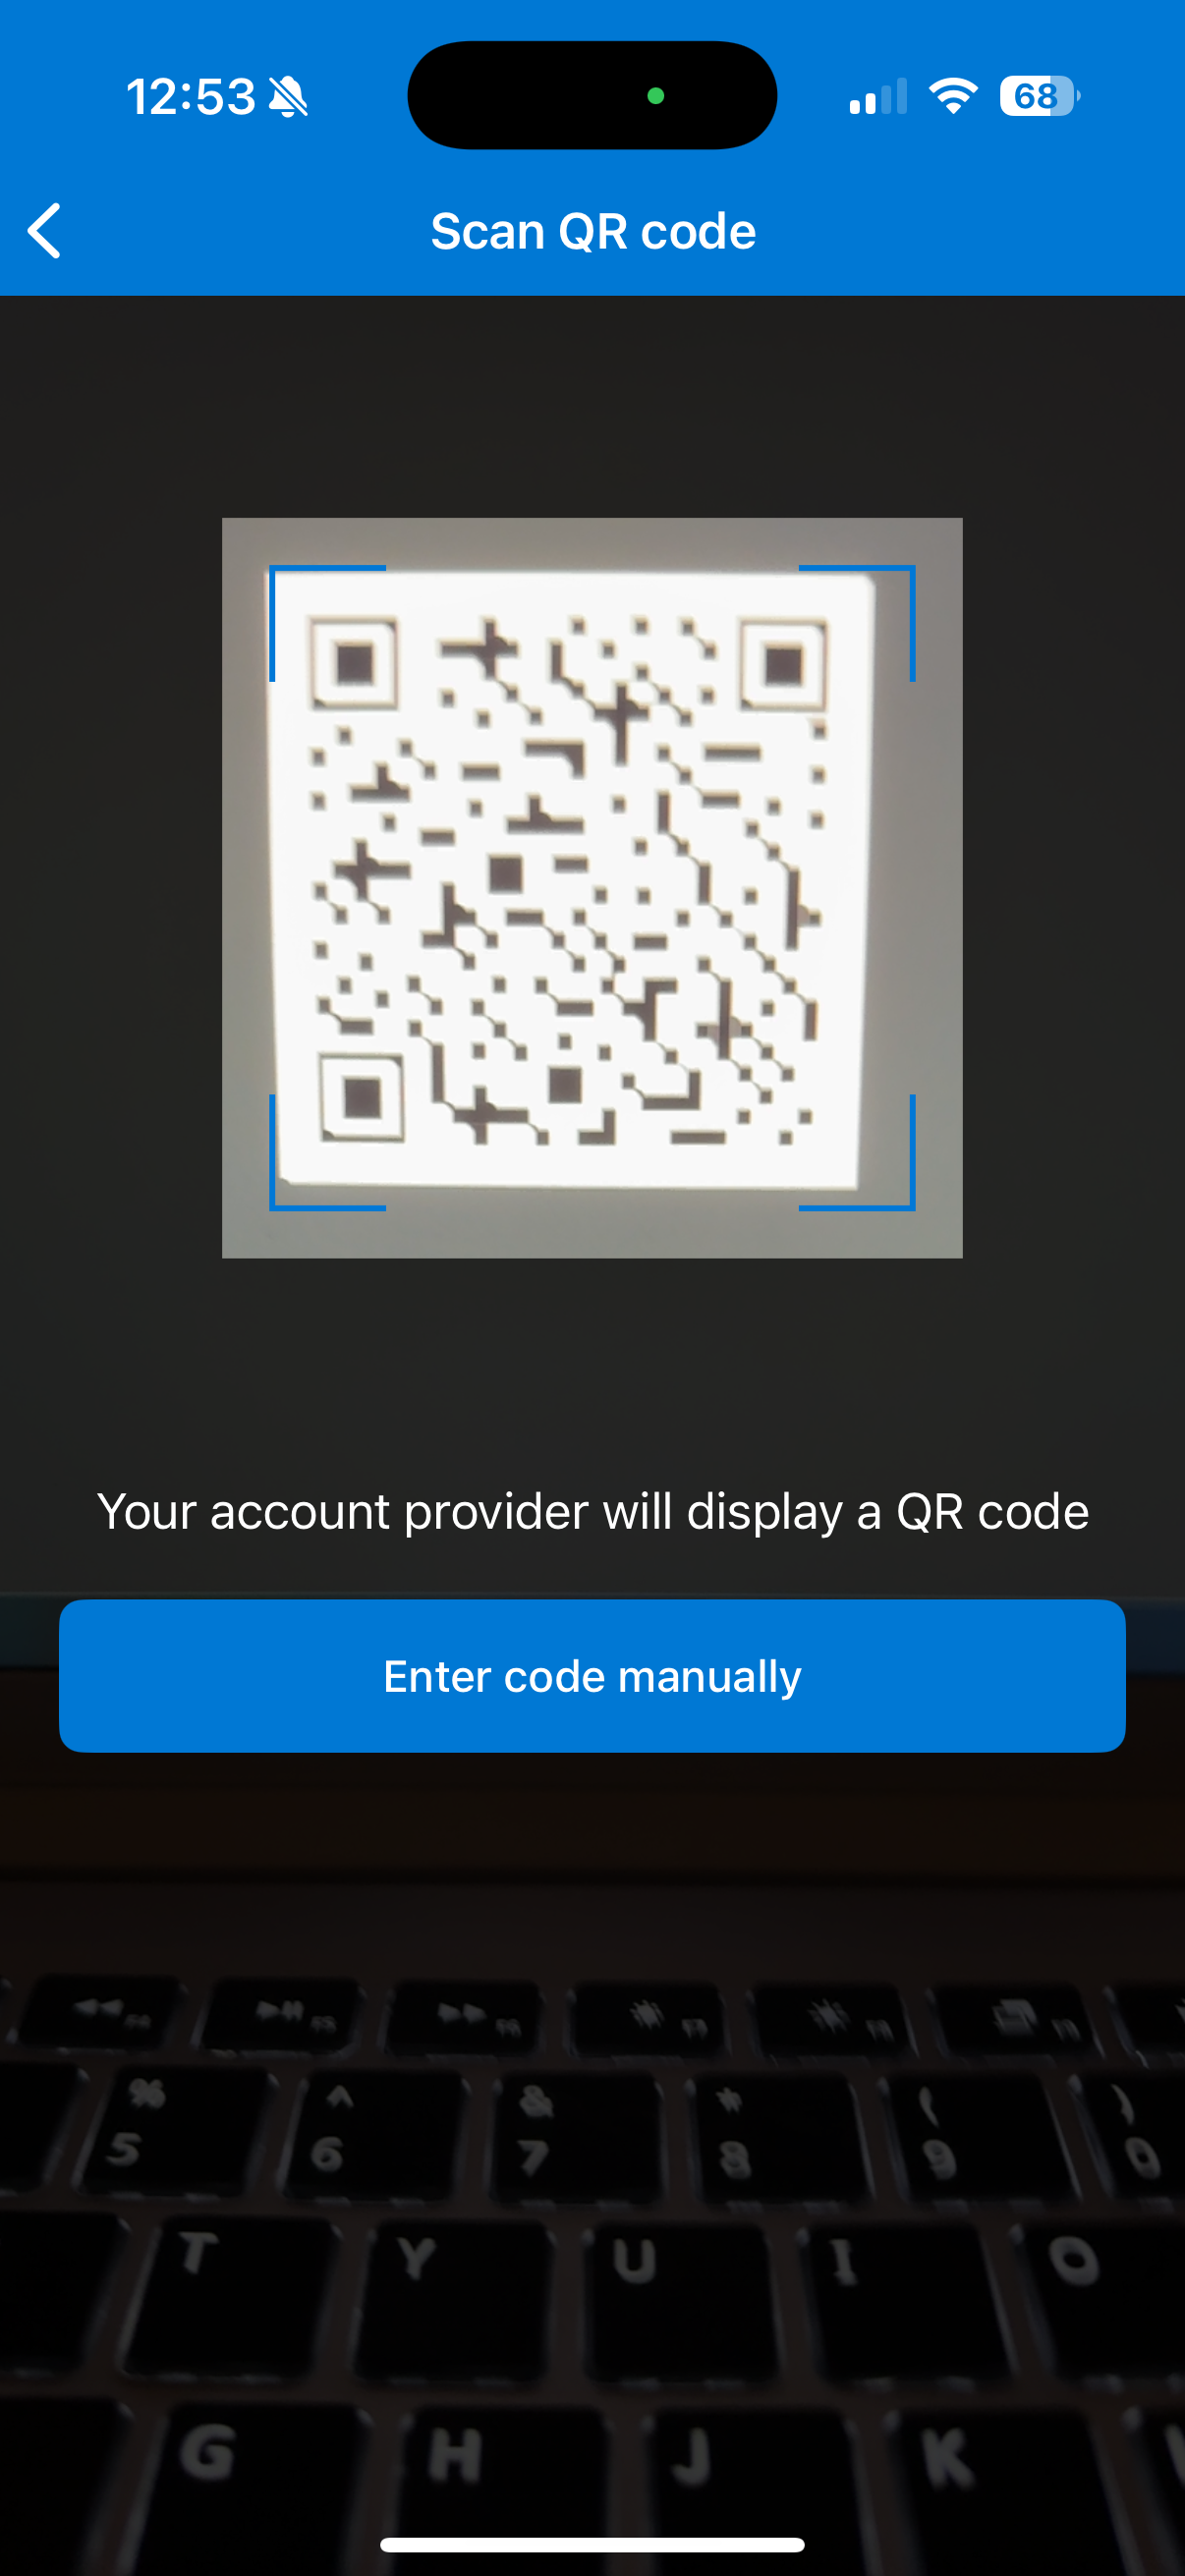
Step 4: Scan the QR Code or Enter Details
On your computer, when enabling MFA in Microsoft 365, you’ll be shown a QR code.
Use the Authenticator app to scan the QR code (or manually type the key).
Step 5: Test the Connection
Verify by testing logging out and logging back into your application. When you input the new authentication code from the app you should now have access.
From now on, you’ll receive notifications or codes whenever you log into your Microsoft account.
Wrapping Up
Your Microsoft Authenticator app is now set up! This app will protect your account with a second factor whenever you sign in.
👉 Next, learn How to Enable Multi-Factor Authentication in Microsoft 365 to apply this protection to your Office apps, Outlook, and OneDrive.