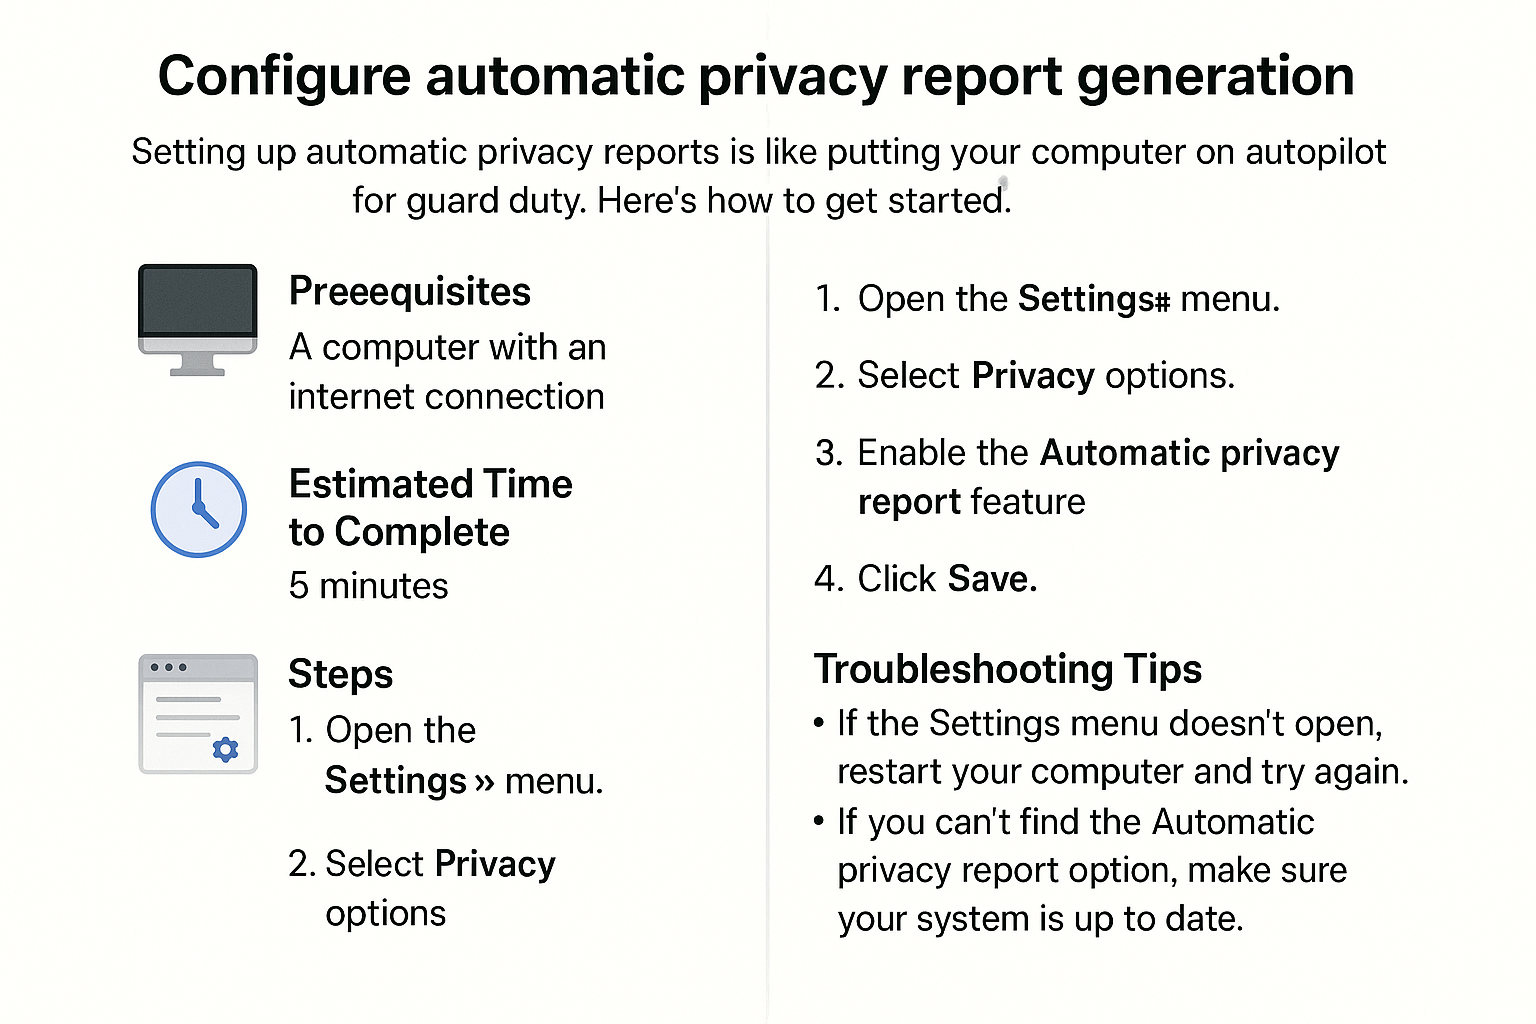
Configure automatic privacy report generation
In today’s digital world, protecting your privacy is like locking the doors and windows of your home. You want to keep unwanted visitors out, and that includes companies or services that track how you use your devices. Setting up automatic privacy reports helps you keep an eye on your online activities and see if there are any surprises. Let’s take a simple approach and make this process easy for you!
Prerequisites
Before you start, you’ll need:
- A computer or device with internet access.
- An account with a web service that offers automatic privacy reports (e.g., a browser or privacy-focused app).
- A basic understanding of how to navigate your computer and the internet.
Estimated Time to Complete
This task should take about 15-20 minutes.
Steps
-
Open Your Preferred Browser Start by launching the web browser you usually use.
-
Sign In to Your Account If you are using a specific service for privacy reports, make sure you're logged in.
-
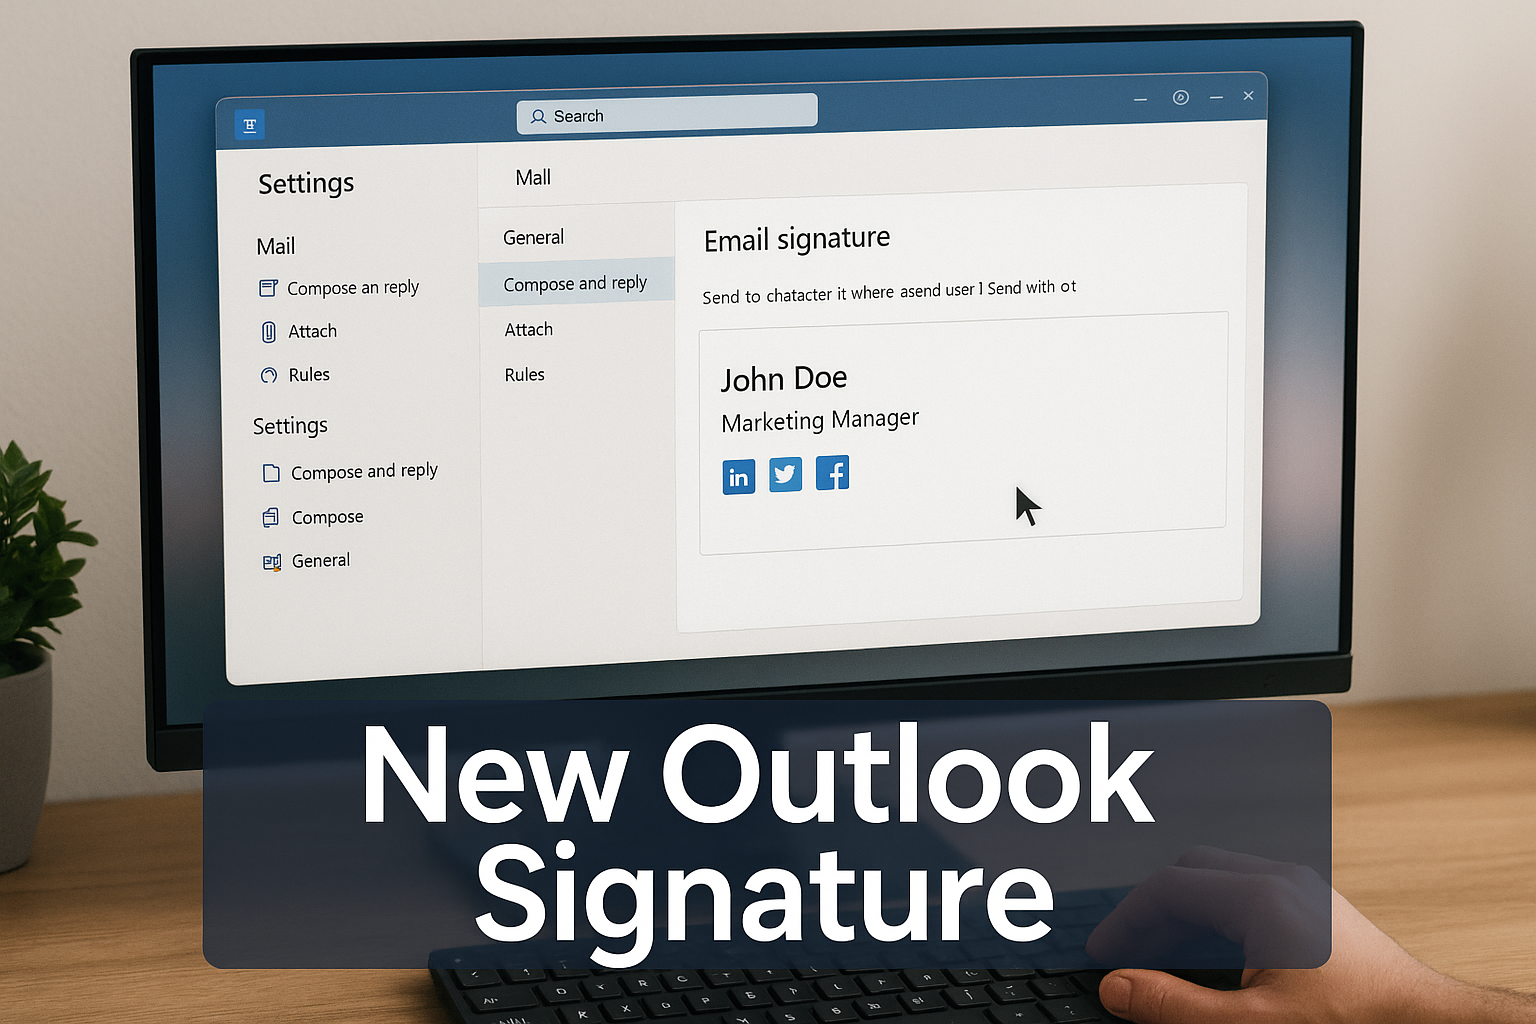
Go to Account Settings Look for the menu option that says "Account" or "Settings." Click on it.
-
Find Privacy Settings In the settings menu, locate the section labeled "Privacy" or "Privacy Reports."
-
Enable Automatic Reports Look for an option that mentions "Automatic Privacy Reports" or "Daily Reports." Toggle the switch or check the box to enable it.
-
Configure Report Preferences You might see options to choose how often to receive reports (daily, weekly, etc.). Select your preference.
-
Save Changes Don’t forget to click the "Save" or "Apply" button to ensure your settings are updated.
-
Review Your Settings Once saved, double-check to ensure everything is set as you wanted.
Troubleshooting Tips
-
Can’t Find the Settings? If you’re having trouble locating the privacy settings, use the search feature (typically represented by a magnifying glass) in the settings menu.
-
Toggle Not Working? If the toggle switch isn’t responding, try refreshing the page or logging out and back in.
-
No Reports Received? If you don’t receive your first report after the timeframe you selected, check your spam or junk email folder.
Remember, if you’re unsure about any step, it’s perfectly okay to stop and ask for help!
Expected Outcome
Once you’ve followed these steps, you will start receiving automatic privacy reports! This means you’ll have a better understanding of what data is being tracked and how to protect yourself.
Password Tip: Use at least 12 characters with a mix of letters, numbers, and symbols. Avoid names or birthdays.
Now you’re equipped to take charge of your privacy! If you have any problems, don’t hesitate to reach out for help.