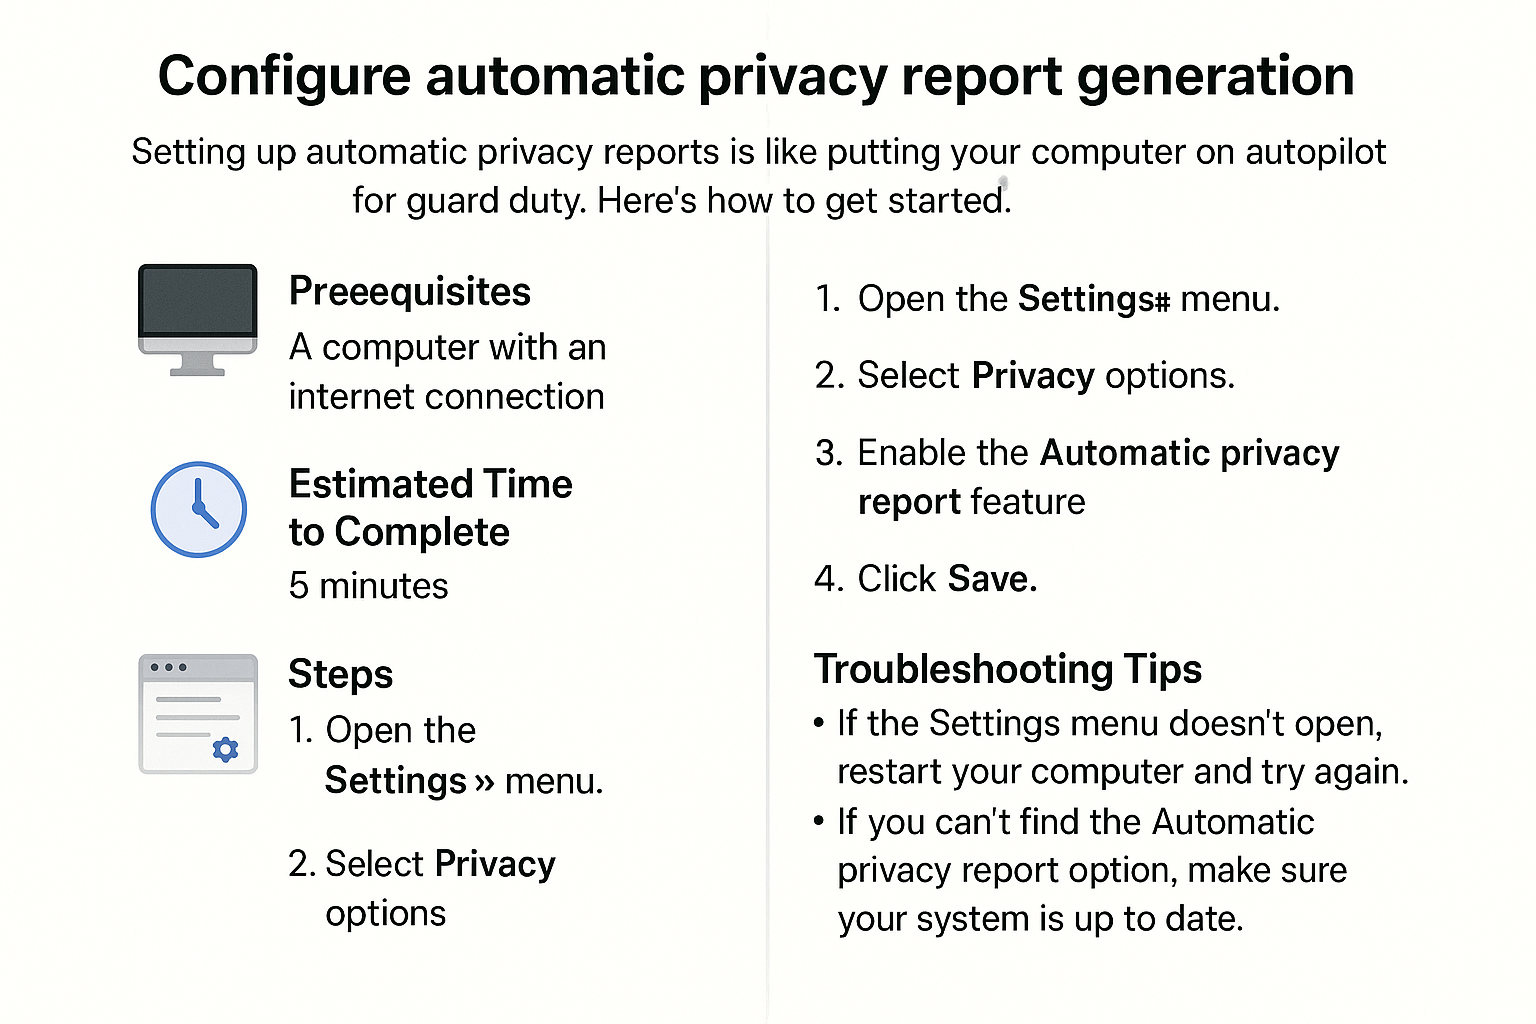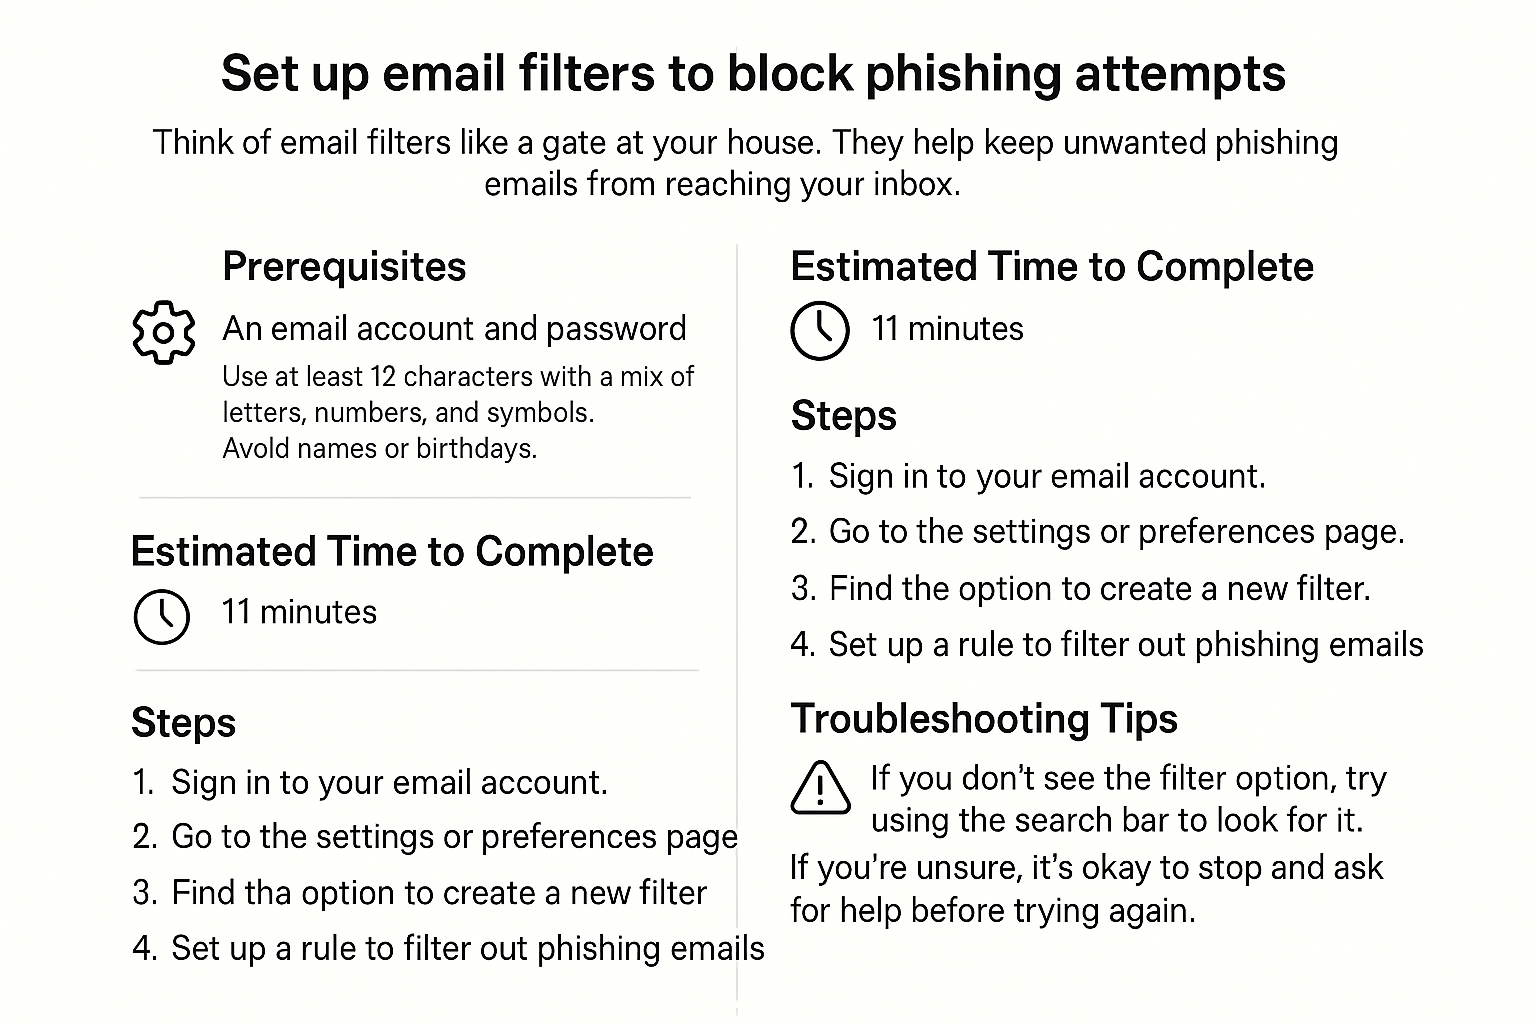
Set up email filters to block phishing attempts
Setting up email filters is like installing a security system that keeps unwanted visitors away. Let’s make your email a safer place together!
Prerequisites
Before we dive in, make sure:
- You have access to your email account (like Gmail, Yahoo, or Outlook).
- You can log into your email on a computer or your device.
Estimated Time to Complete
Approximately 10-15 minutes.
Steps
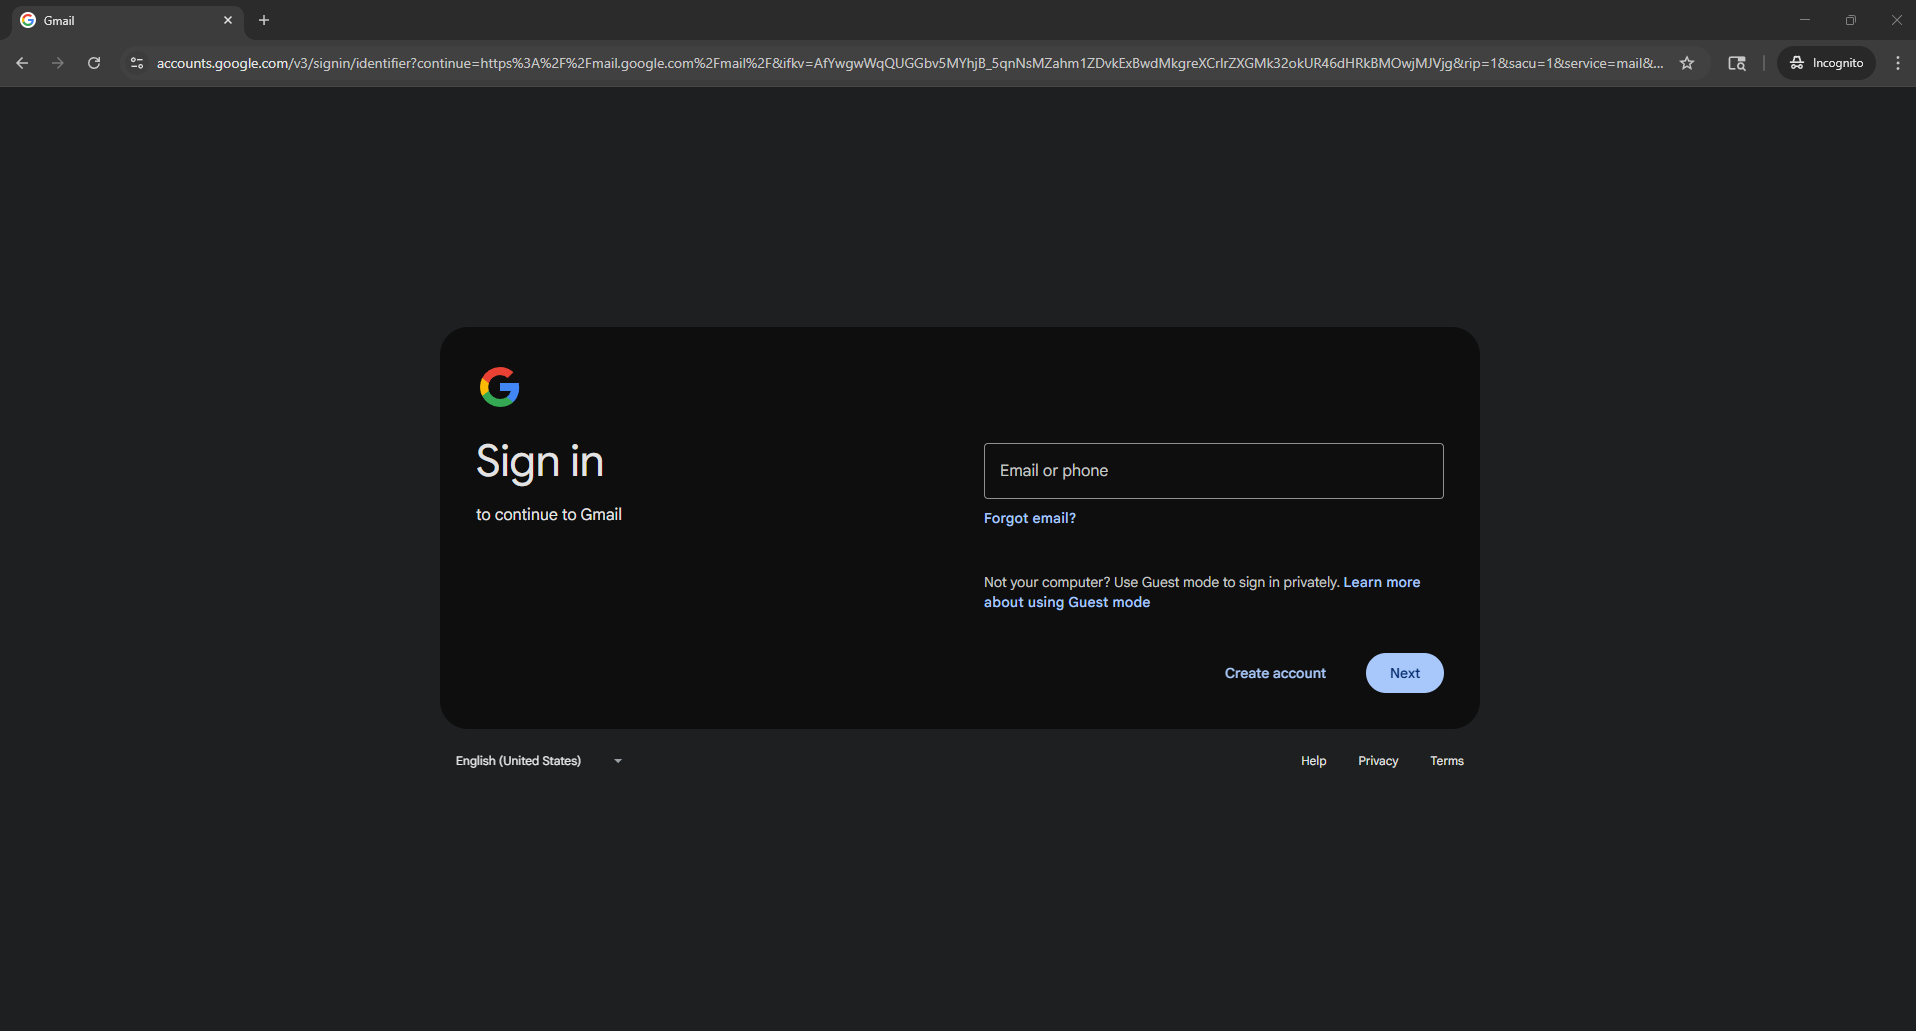
- Log into your email account.
Go to your email provider's website and enter your login details.
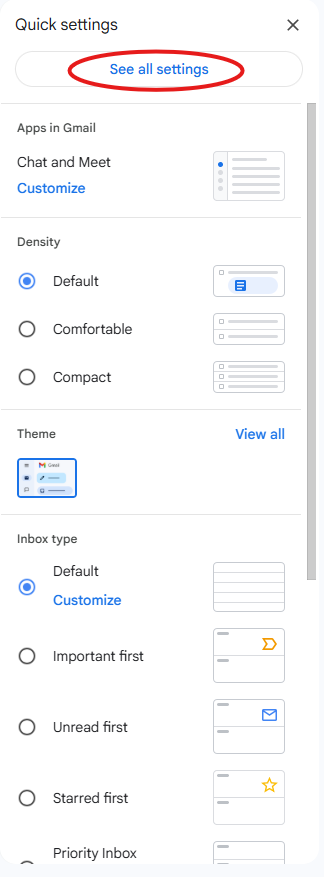
- Open the settings menu.
Look for a gear icon or "Settings" option in the top right corner of your inbox. Click on it.

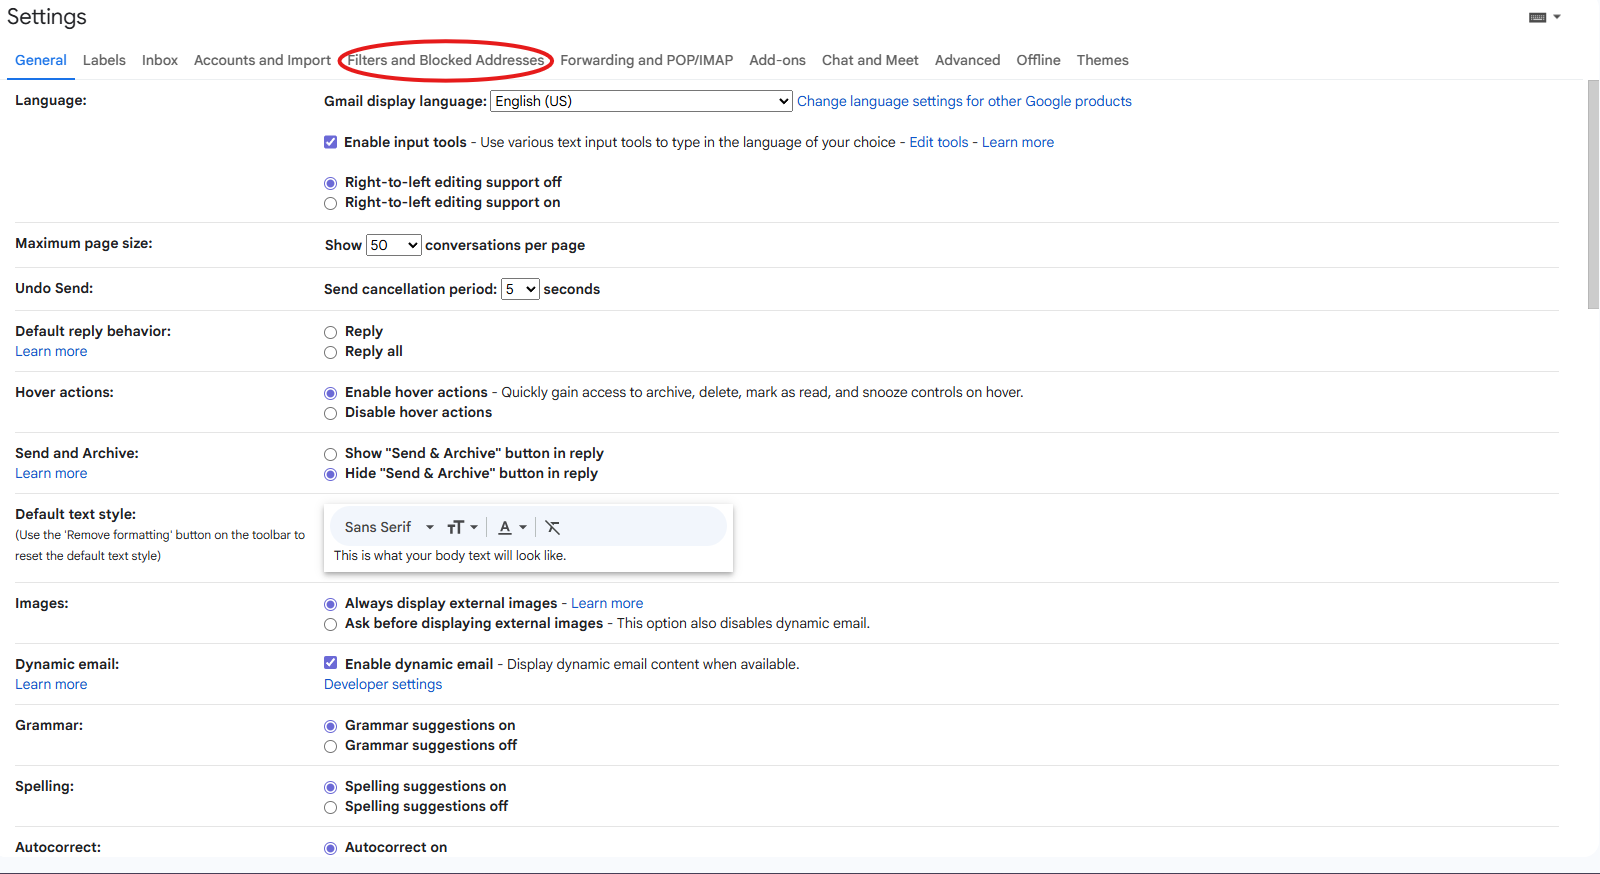
- Find the filters section.
In the settings menu, look for options like "Filters", "Rules", or "Spam". Select that option.
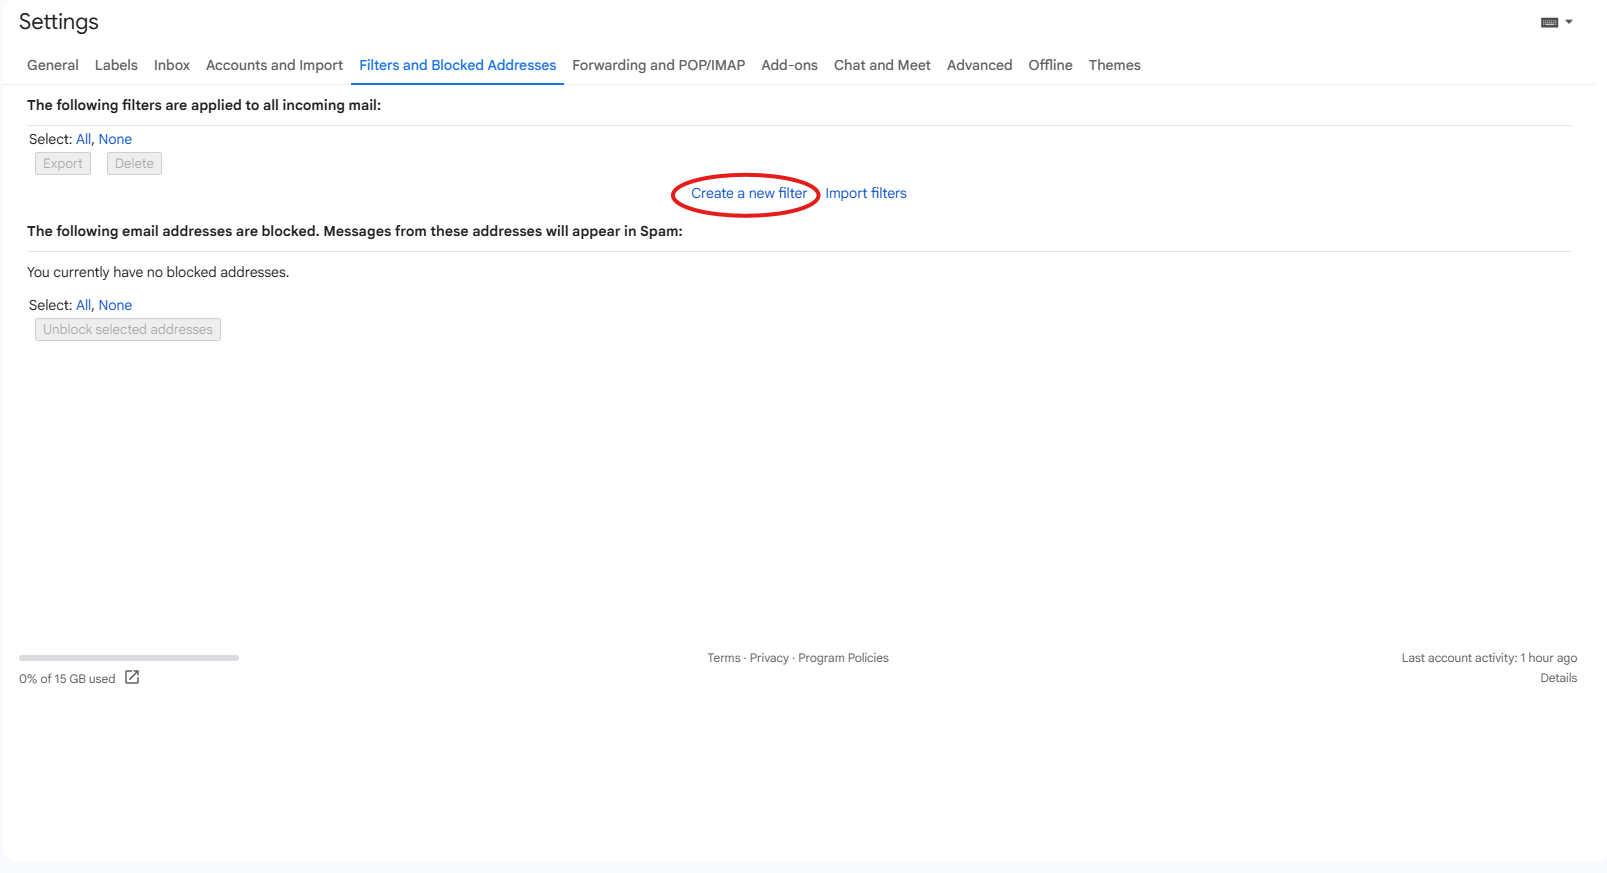
- Create a new filter.
Look for a button that says “Add Filter” or “Create New Filter.” Click it to start setting up your filter.
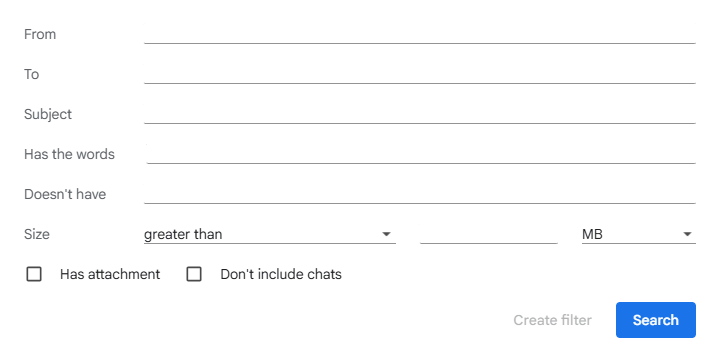
- Specify the criteria for your filter.
In the new filter settings, you can enter keywords that are commonly found in phishing emails, such as “urgent”, “account suspended”, or “act now”. This helps your email filter recognize dangerous messages.
- Set the action for suspicious emails.
Choose what you want your email to do with these suspicious emails. You might want to choose “Delete” or “Move to Spam”.
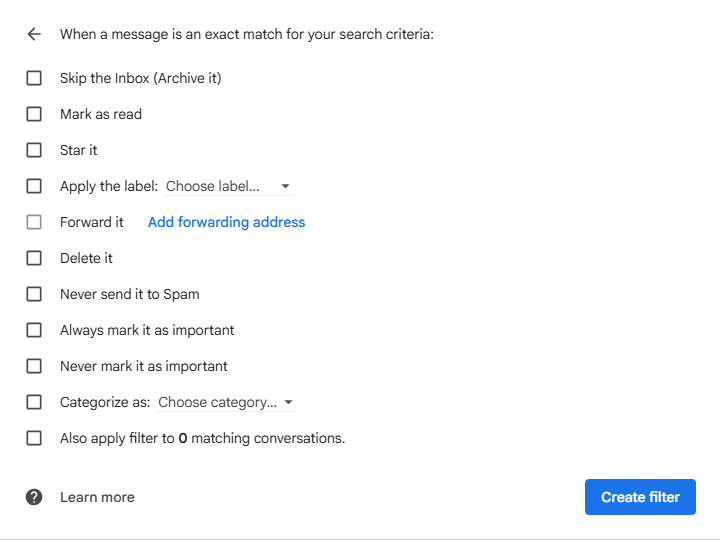
- Save your filter.
Once you’ve filled in the details, look for the “Save” or “Create Filter” button and click it. This saves the rules you just set.

- Test your filter.
To ensure your filter works, consider sending yourself a test email using one of the keywords you added. Check if it’s moved to spam or deleted automatically.
Troubleshooting Tips
- Did you not see the filter apply? Double-check your criteria. Sometimes small mistakes in spelling can cause filters to not work.
- Are expected emails landing in spam? Go back to your filters and review the keywords. You might need to adjust them.
- Not all providers offer the same settings. If you can't find the filter options, check your email provider’s help section or reach out for support.
If you’re unsure, it’s okay to stop and ask for help before trying again.
Expected Outcome
By following these steps, you’ll have set up custom filters in your email that help block and manage phishing attempts. This will create a safer environment for your inbox, keeping unwanted and potentially harmful emails away.
Bonus Tip on Password Creation: When you set or change your password, use at least 12 characters with a mix of letters, numbers, and symbols. Avoid using easily obtainable personal information like names or birthdays.
Stay safe and happy emailing!