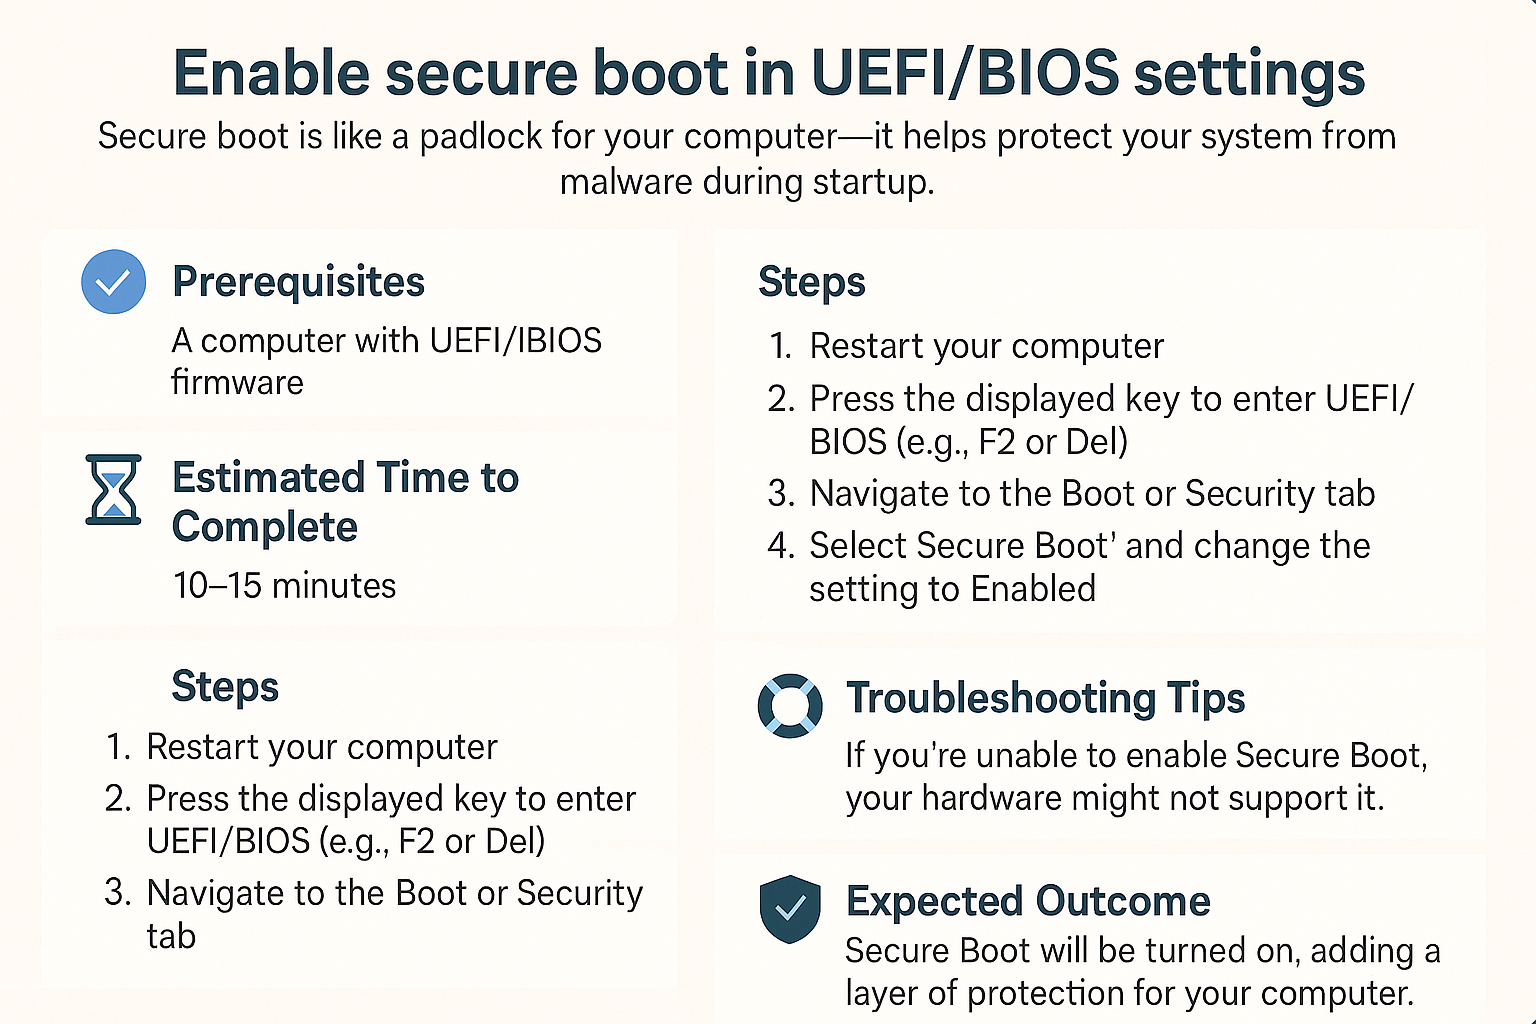
Enable Secure Boot in UEFI/BIOS Settings
This feature helps ensure that your computer only runs trusted software during startup, protecting against various threats. Let's walk through how to enable this feature together!
Prerequisites
- A computer with UEFI firmware (most modern computers have UEFI).
- Access to your computer’s graphics and keyboard (you may need to use them to navigate the UEFI/BIOS settings).
- A compatible operating system installed (Secure Boot is typically used with Windows and Linux).
Estimated Time to Complete
Approximately 10 to 15 minutes.
Steps
-
Restart Your Computer
- Click on the Start menu and select Restart.
-
Enter UEFI/BIOS Settings
- As your computer restarts, repeatedly press the appropriate key to enter the UEFI/BIOS settings. This key varies by manufacturer but is often F2, Del, or Esc. If unsure, check your computer's manual or look online for your specific model.
-
Navigate to Boot Options
- Use the arrow keys to scroll through the menu and locate the Boot or Security tab in the UEFI/BIOS interface.
-
Enable Secure Boot
- Find the option labeled Secure Boot and change its setting to Enabled. You may need to press Enter or use the +/- keys depending on your UEFI interface.
-
Save and Exit
- Press the key that corresponds to Save Changes and Exit. This is usually F10. Confirm any prompts that ask if you're sure you want to save changes.
-
Restart Again
- Your computer will restart, and Secure Boot will be enabled. You can check if it’s working by entering the UEFI/BIOS settings again and confirming that Secure Boot is still enabled.
Troubleshooting Tips
- Key Doesn't Work: If you're unsure which key to press to enter UEFI/BIOS, consult the manufacturer's website or check your computer’s manual.
- Can't Find Secure Boot Option: Some older systems may not support Secure Boot, or it may be located in a different tab like Advanced or Authentication.
- Error Messages: If you encounter error messages after enabling Secure Boot, you can re-enter the UEFI/BIOS settings and disable it until you find a resolution.
If you’re unsure, it’s okay to stop and ask for help before trying again.
Expected Outcome
By following these steps, you should have Secure Boot enabled on your computer, making it a lot tougher for malware to load during startup. Your device will be more secure, similar to having the best lock on your door.
Password Tip
As a bonus, when dealing with passwords, remember to use at least 12 characters with a mix of letters, numbers, and symbols. Avoid names or birthdays.
Stay safe, and happy computing!