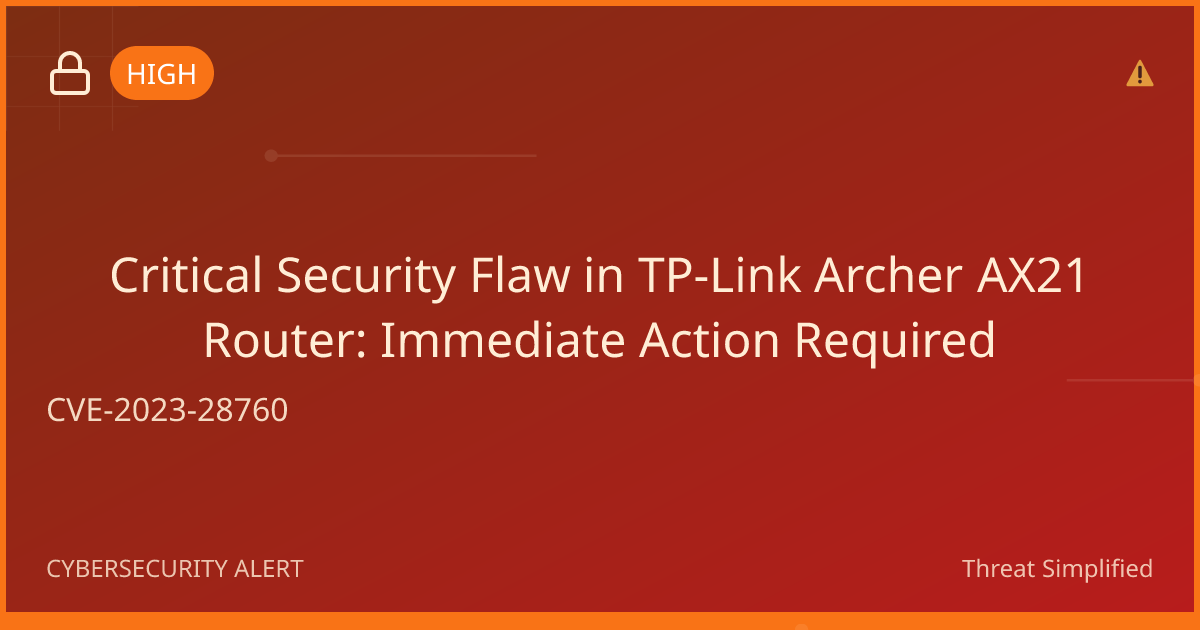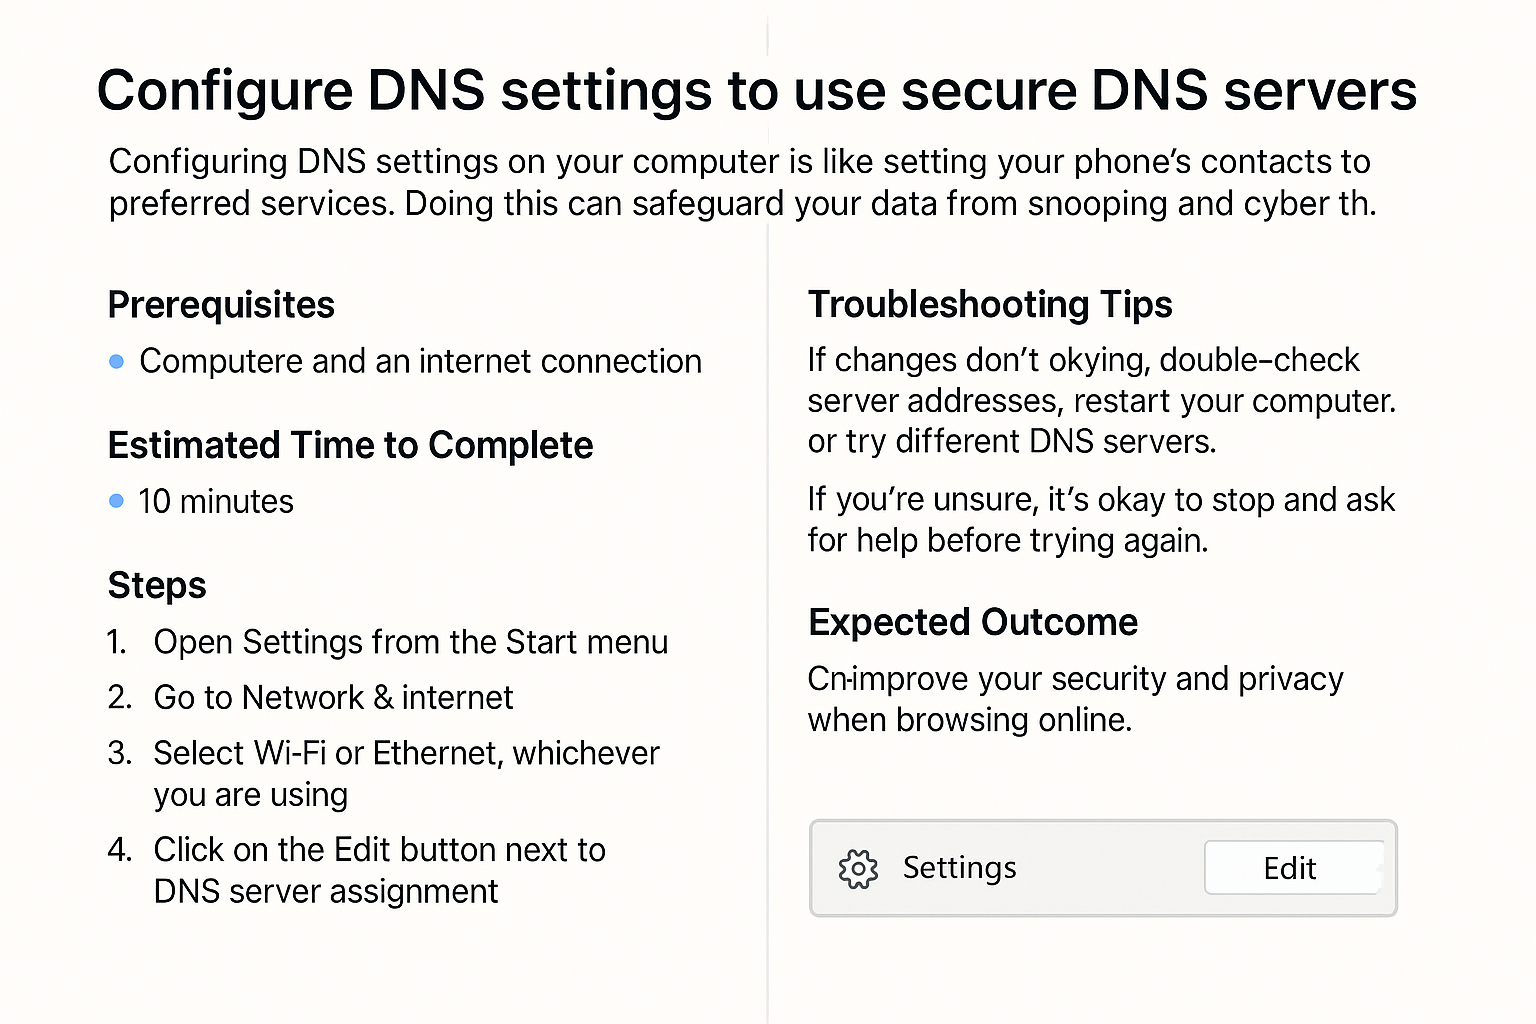
Configure DNS settings to use secure DNS servers
Just like how secure DNS servers can help with your internet browsing experience. They can provide faster results and help protect your online privacy. This guide will walk you through the steps to change your DNS settings to use secure, reliable servers.
Prerequisites
Before you begin, you'll need:
- A computer or device connected to the internet.
- Administrative access to your device (you may need to log in as an administrator).
- A list of secure DNS server addresses (we will provide these).
Estimated Time to Complete
This task should take about 10-15 minutes.
Steps
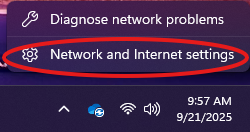
- Open Network Settings
- On Windows, right-click the network icon in the bottom-right corner of your screen and select "Open Network & Internet settings."
- On macOS, click on the Apple menu, select "System Preferences," then choose "Network."
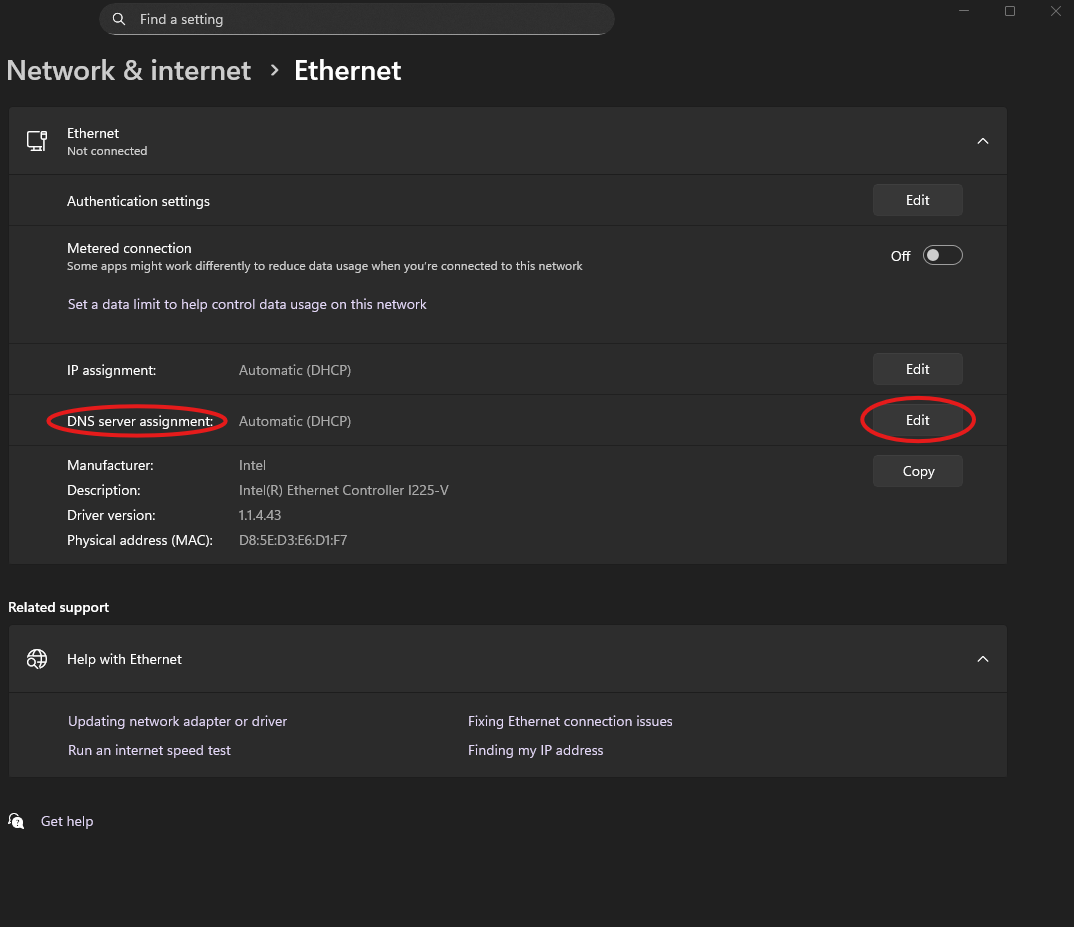
- Select Your Connection
- Choose the network connection you’re using. This could be either "Wi-Fi" or "Ethernet" depending on how you're connected.

- Access DNS Settings
- On Windows, click on "Change adapter options" and right-click your active network connection. Select "Properties."
- On macOS, click on "Advanced," then select the "DNS" tab.
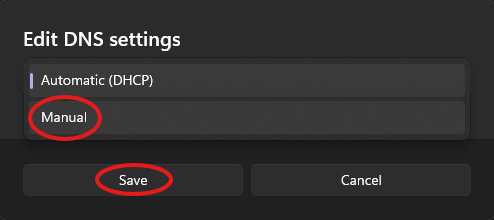
- Input New DNS Server Addresses
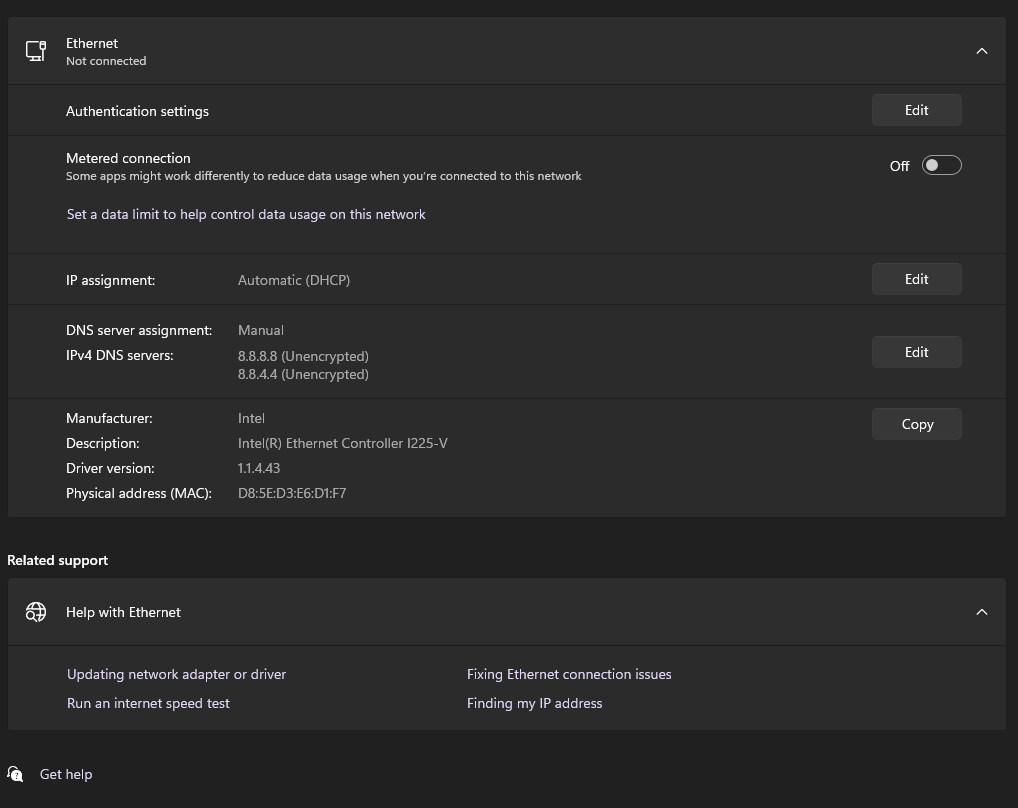
- Replace the current DNS addresses with the following secure DNS server addresses:
- Google DNS:
- Preferred:
8.8.8.8 - Alternate:
8.8.4.4
- Preferred:
- Cloudflare DNS:
- Preferred:
1.1.1.1 - Alternate:
1.0.0.1
- Preferred:
- Google DNS:
- Replace the current DNS addresses with the following secure DNS server addresses:
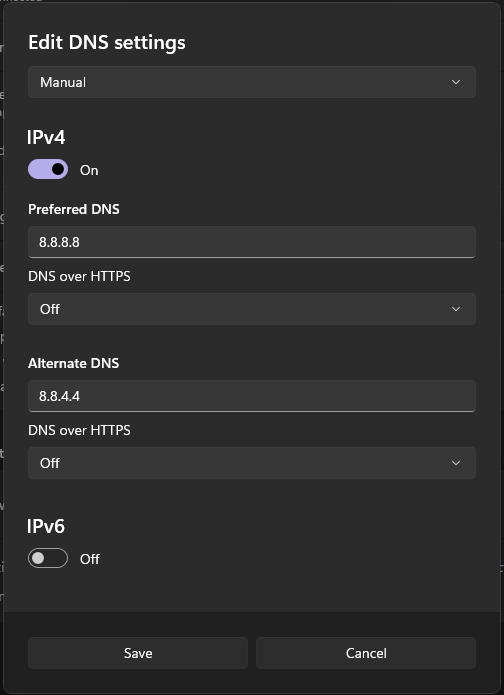
- Save Settings
- On Windows, click "OK" and then "Close."
- On macOS, click "OK" and then "Apply."
- Test Your Connection
- Open a web browser and visit any website to ensure everything is working correctly.
Troubleshooting Tips
- Can't Connect to the Internet? Double-check the DNS addresses you entered. Make sure there are no typos.
- Still Not Working? You may need to restart your computer or reset your router.
- Try Different DNS Providers: If you experience issues with Google or Cloudflare, consider trying OpenDNS (Preferred:
208.67.222.222, Alternate:208.67.220.220).
Remember, if you’re unsure, it’s okay to stop and ask for help before trying again.
Expected Outcome
Once you've followed these steps, your internet connection will use secure DNS servers, which may lead to faster access to websites and enhanced privacy during your online activities.
Tip for strong passwords: Use at least 12 characters with a mix of letters, numbers, and symbols. Avoid names or birthdays.